This documentation explains how to execute workflows in NeoPilot, covering the entire process from role setup to workflow completion. It guides you through creating roles (or using auto-generated ones), assigning users to these roles, adding data to forms for initiating the workflow, and executing role-specific actions to progress through each workflow state. The guide includes screenshots and step-by-step instructions to ensure smooth workflow execution.
You can create roles either automatically through the Application Builder or manually through the Workflow Builder. After setting up roles and users, you can execute the workflow by adding data to forms and taking necessary actions based on user roles.
Key Terms
Term | Definition |
|---|---|
Workflow | A defined sequence of steps and actions that a form goes through, with specific roles responsible for each step. |
Roles | User permissions that determine what actions a user can take within a workflow (for example, Order Processor, Order Manager). |
Draft State | The initial state of a form after data is first entered but before workflow actions have been taken. |
Action | A step in the workflow that can be performed by a user with the appropriate role. |
Prerequisites
Access to the NeoPilot platform
Administrative permissions to create roles and users (if needed)
A workflow created through either Application Builder or Workflow Builder
Step-by-Step Procedure
1. Ensure Roles are Created
If you created your workflow using the Application Builder, roles are automatically generated and you can skip to Step 2.
Navigate to Administrator → User Roles.
Click the plus icon to create a new role.
Enter the role name and define permissions.
Save the role.
Repeat this process for each role needed in your workflow.
2. Create Users for Each Role
Navigate to Administrator → Users.
Click the plus icon to create a new user.
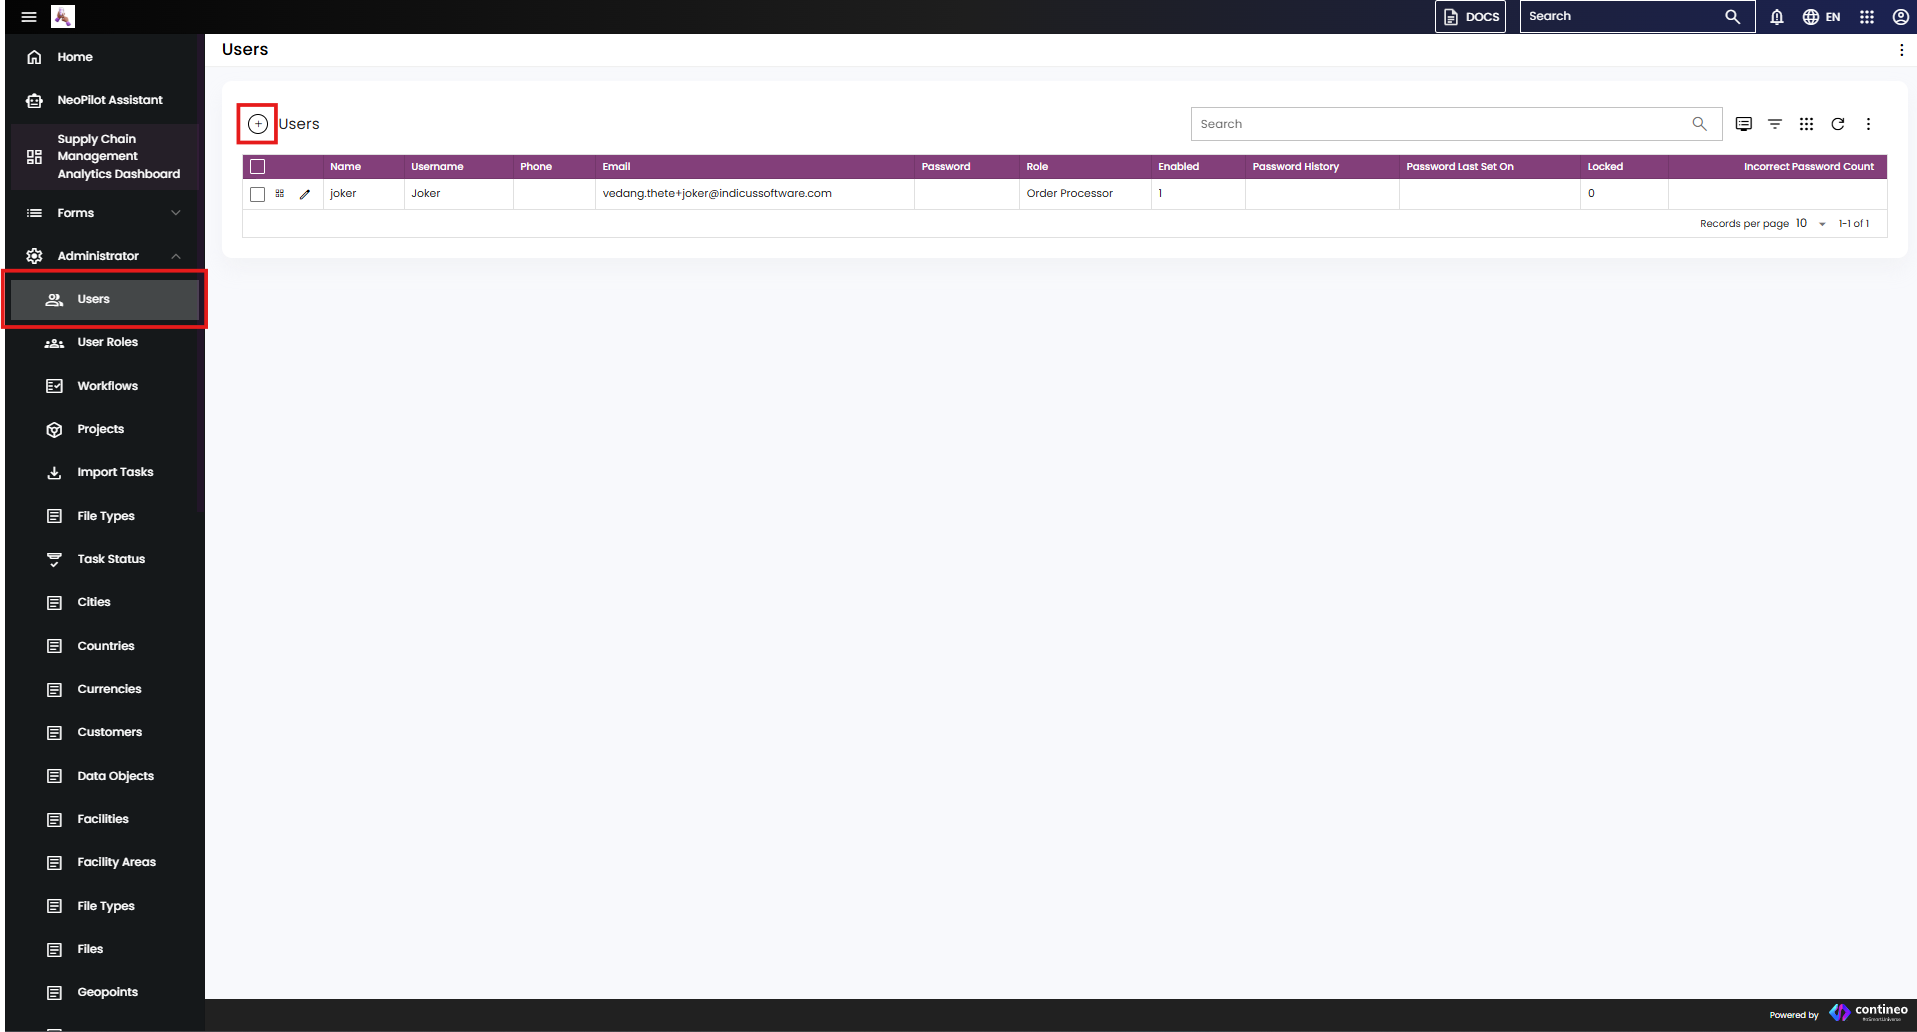
Figure 1: User creation screen where you enter user details and select the appropriate role
Fill in all required fields:
Name
Username
Email address
Select the appropriate role from the dropdown
Ensure the Enabled checkbox is selected.
Click Save to create the user.
An activation email is sent to the email address provided. The user must:
Click Activate Account in the email.
Set their password on the activation page.
Login using their username and new password.
Repeat this process for each role in your workflow.
3. Add Data to the Form
Navigate to the Forms section from the navigation menu.

Figure 2: Navigate to Forms section from the left menu
Select the appropriate form (for example, Orders, Delivery).
Click the plus icon to add new data.
Fill in the required fields.
Click Save to submit the form.
The form is in the Draft state, which is the initial state in the workflow.
4. Execute Workflow Actions
Log in as the user with the appropriate role for the next workflow action.
Navigate to the form section containing your draft item.
Locate your form entry in the list.
Click the pencil icon to open the form details.
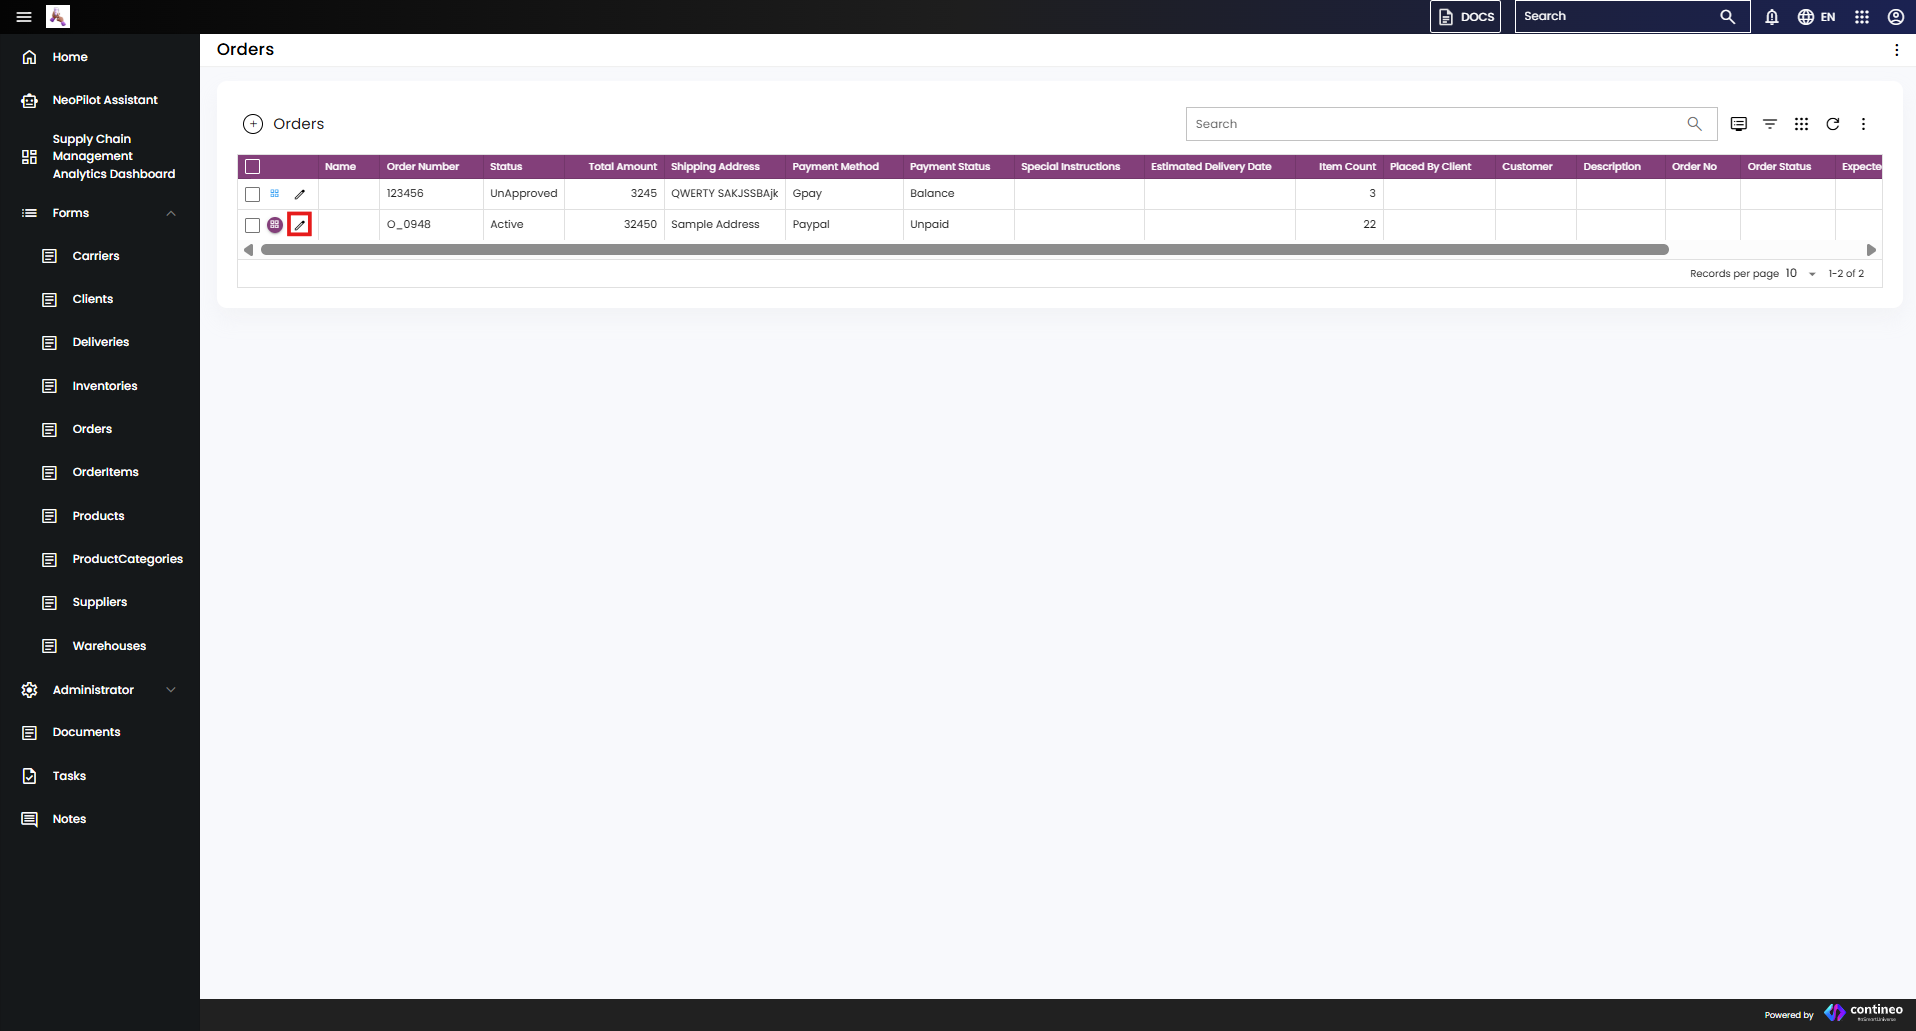
Figure 3: Form in Draft state with edit (pencil) icon
Click DRAFT in the top-right corner to access available actions.
Add any required remarks in the action panel.
Click SUBMIT ORDER (or similar) button to proceed with the workflow action.

Figure 4: Action panel showing remarks field and action button
The form moves to the next state in the workflow. The process continues with different users taking actions based on their roles until the workflow is complete.
Important Notes
Each workflow step requires a user with the appropriate role to take action.
Users can only see and access the actions permitted by their role.
Actions available will change based on the current state of the form in the workflow.
If a required role doesn't have an assigned user, that workflow step cannot be completed.