Team Access Rights
Learn how to grant root access to a team or team members.
Sure! Here’s your HTML content converted into clean Markdown format, including images and structure:
Step-1
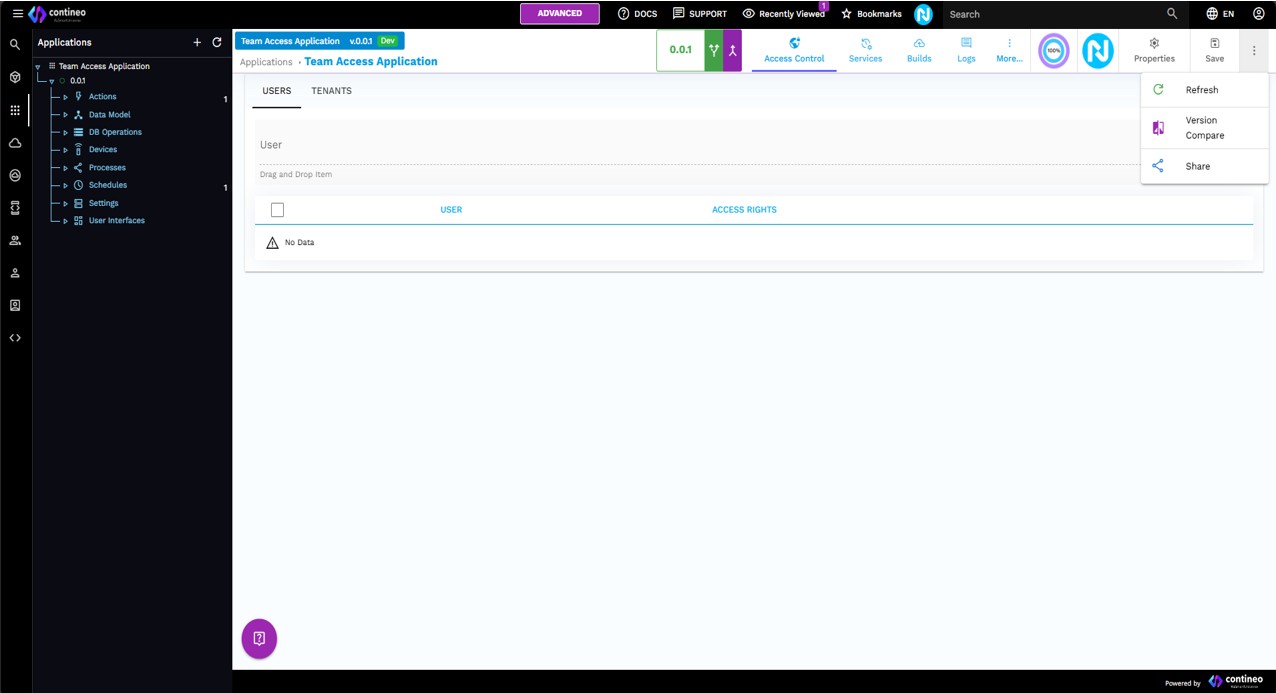
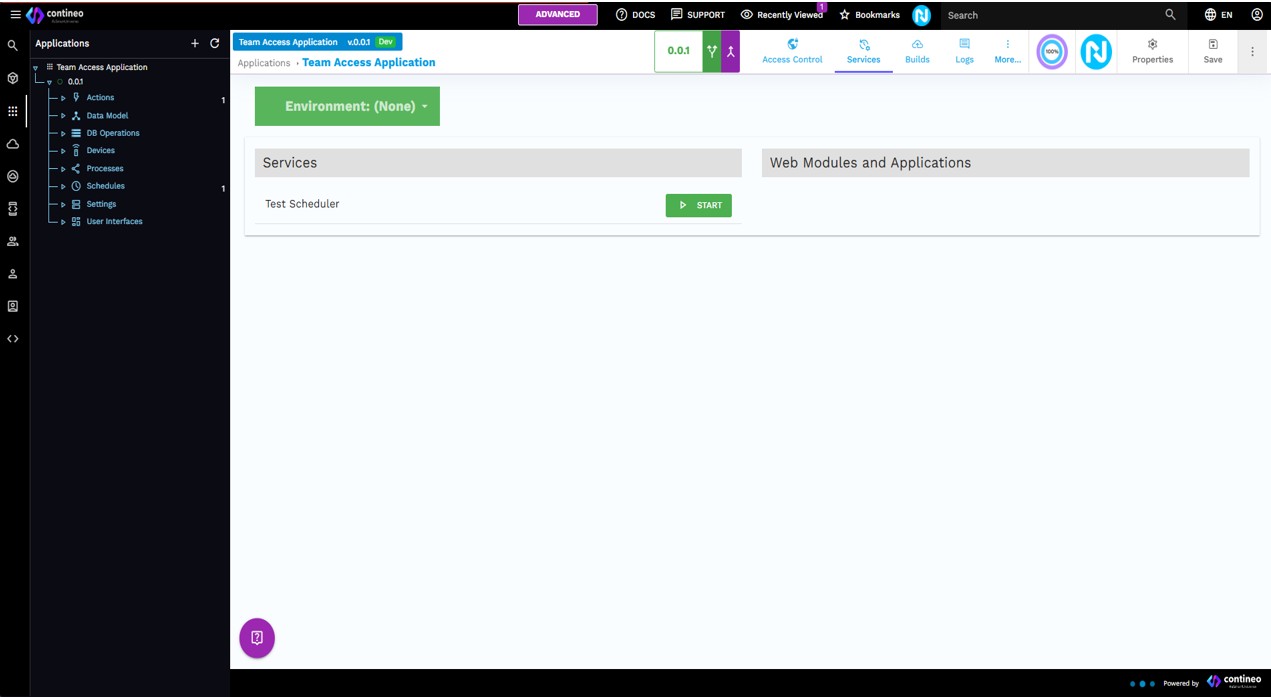
The user creates a root component and shares it with other users.
Once the root component is created, share it with other members.
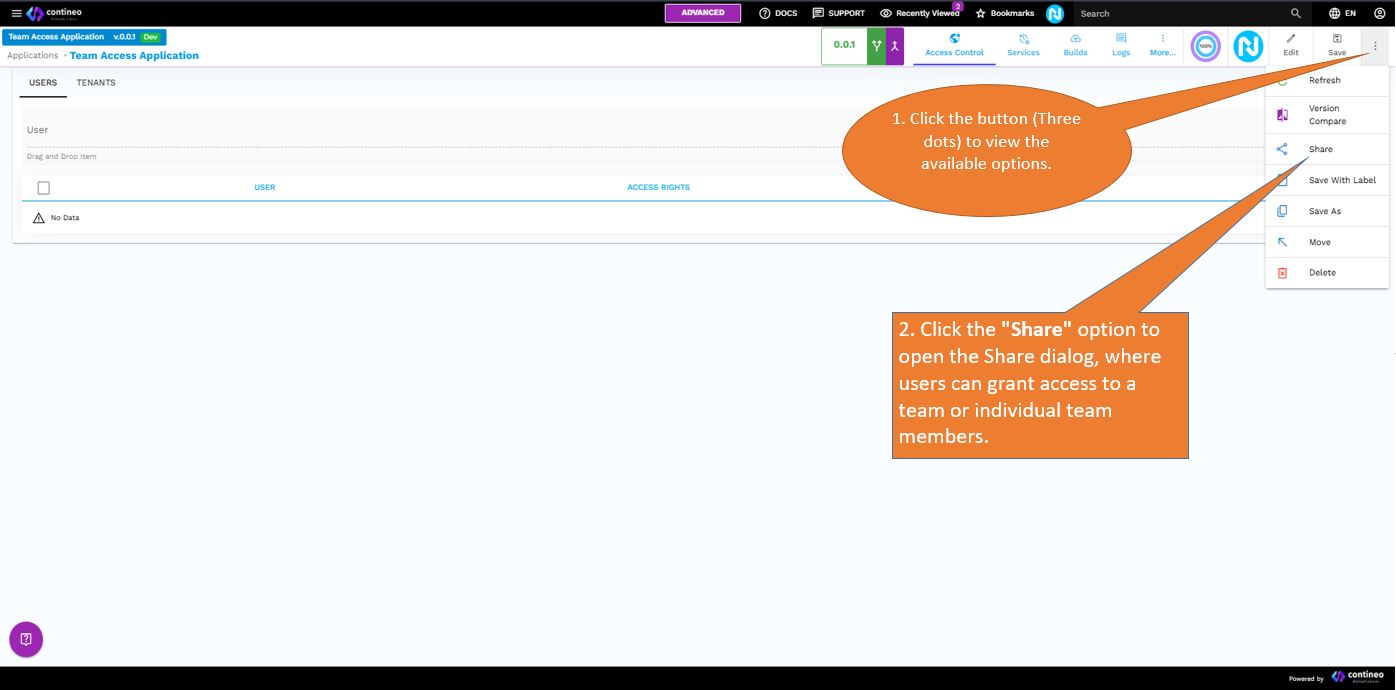
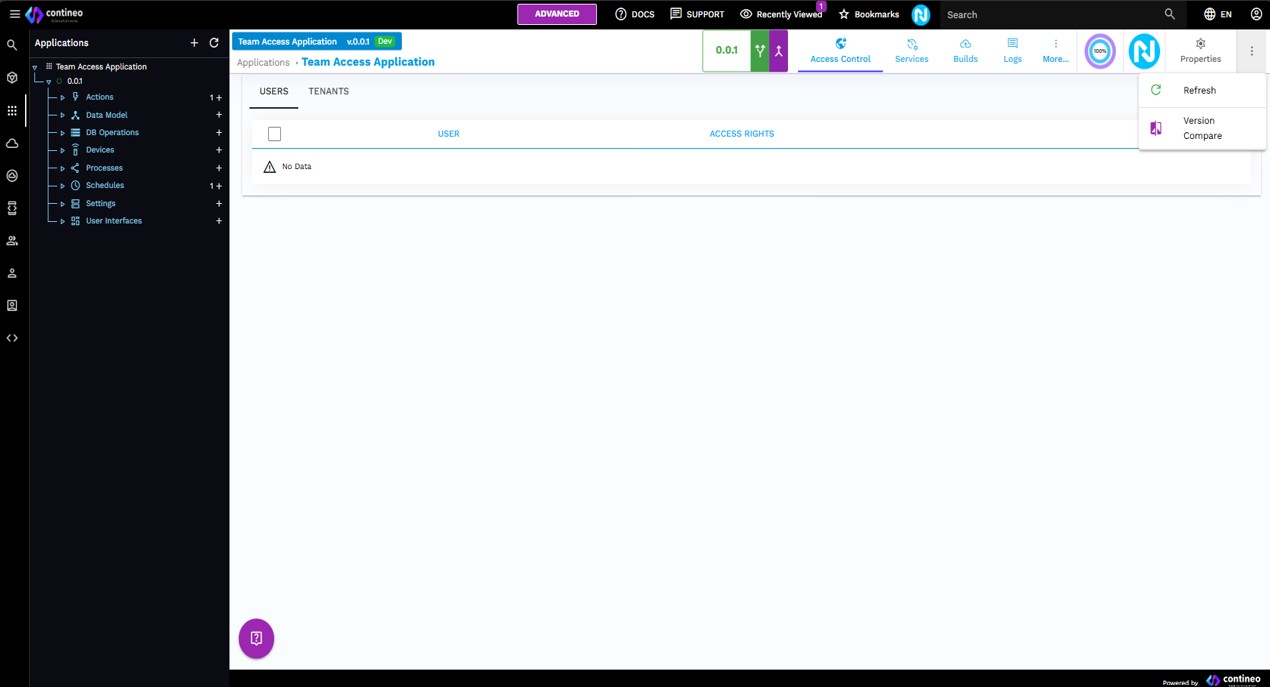
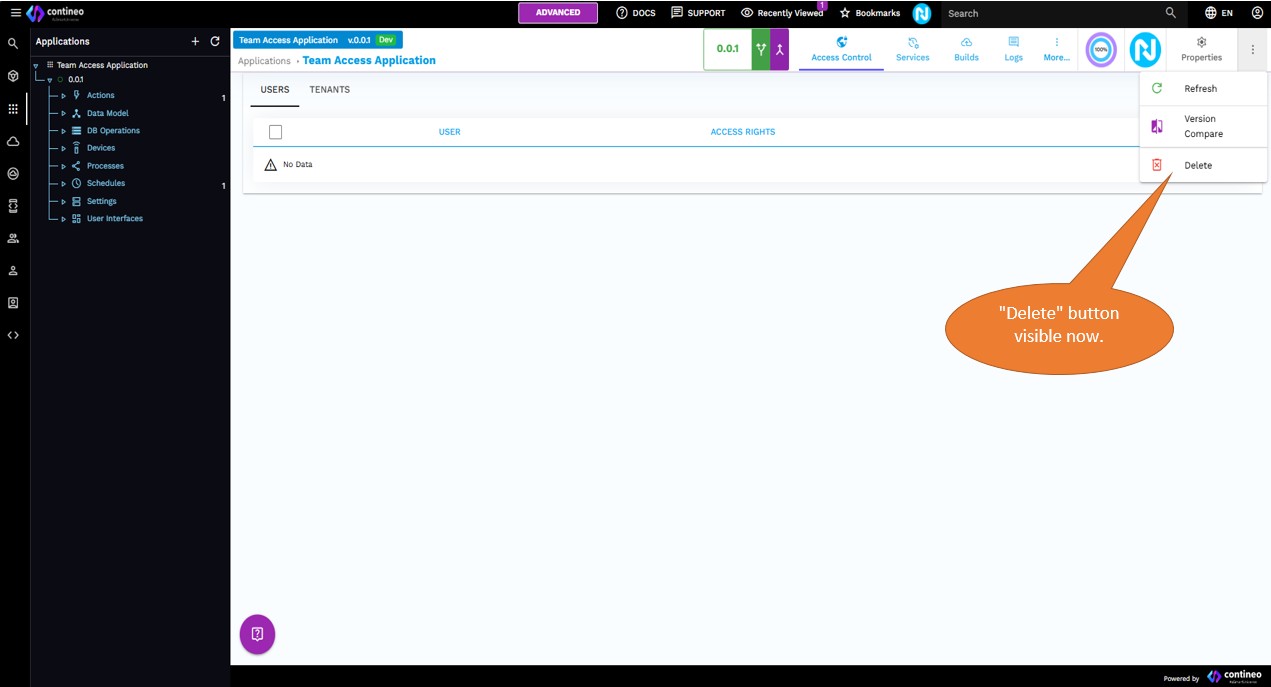
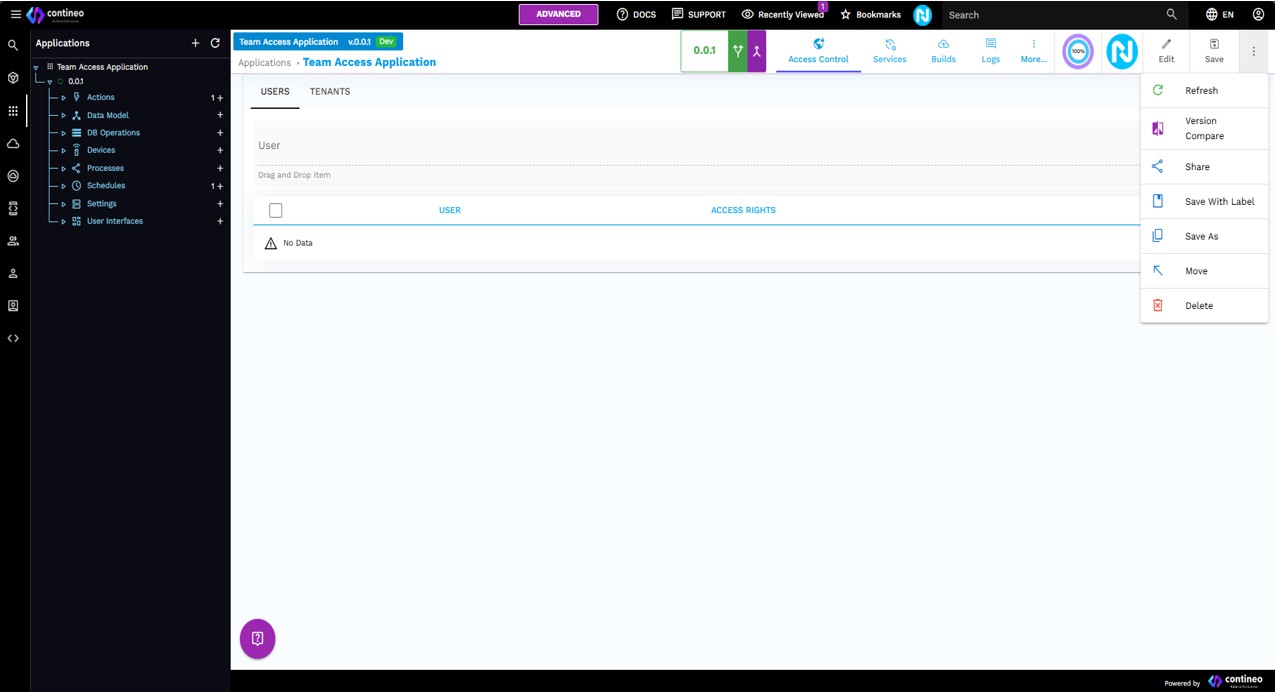
Click the button
 to view the available options.
Click the Share option to open the Share dialog, where users can grant access to a team or individual team members.
Step-2
The user can now view the Share dialog box as follows:
 This radio button is used to share the root component with either an individual user or multiple users.
 This radio button is used to share the root component with entire team or multiple teams.
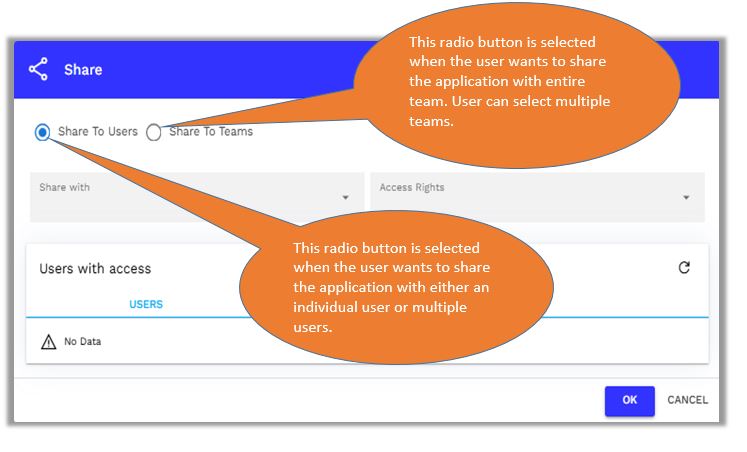
Step-3
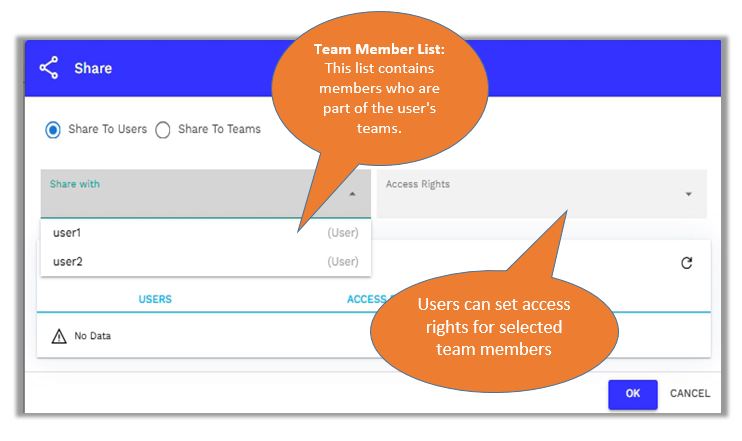
Case A: Root component shared with individual team member or multiple team members
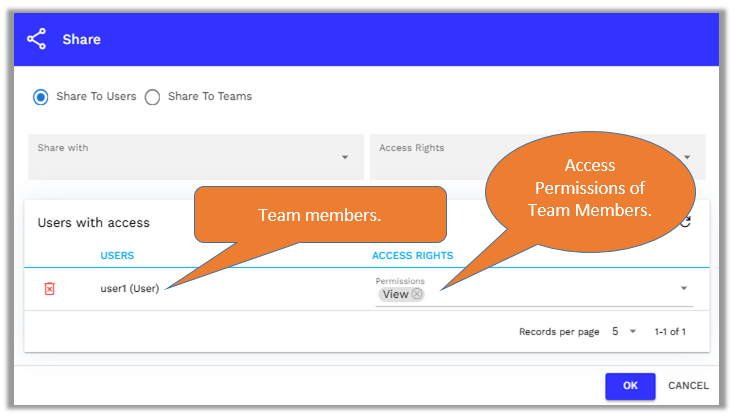
In the image below, the user can see a dropdown containing a list of all team members.
The user must first select the radio button
Once the user and their access rights are selected, click OK to save the changes.
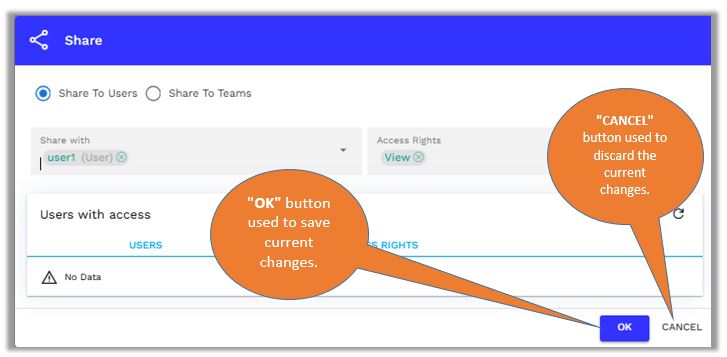
The Users with Access table displays the team members who have access rights along with the corresponding permissions granted to them.
Case B: Root component shared with entire teams
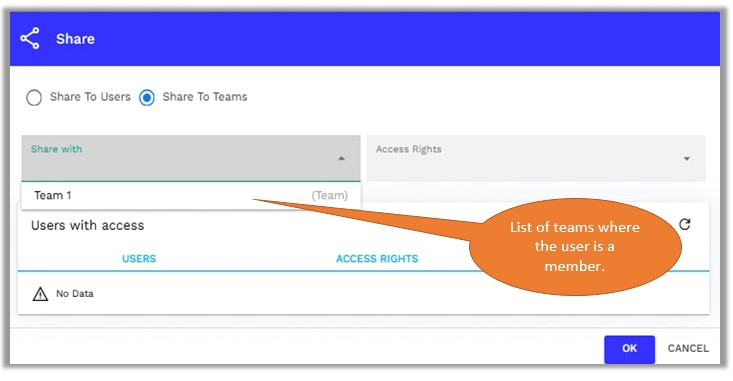
In the image below, the user can see a first field dropdown "Share with" containing a list of all teams.
The user must first select the radio button
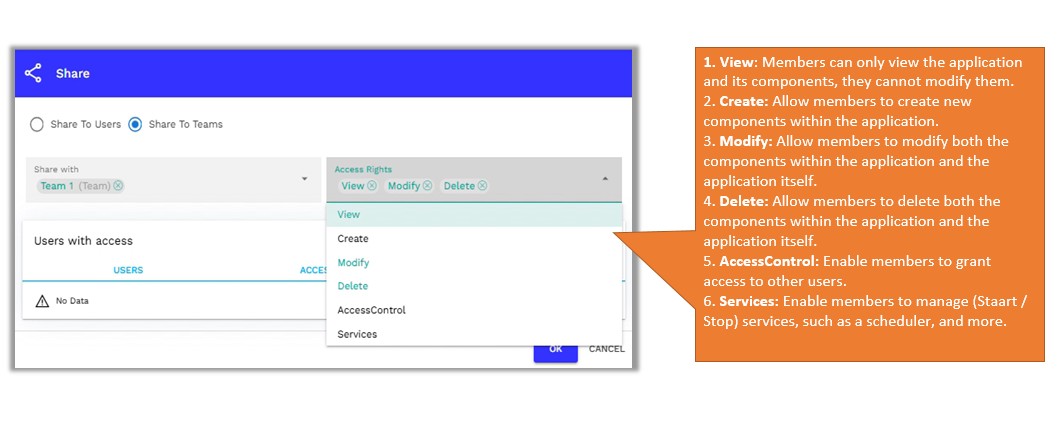
In the following image, the user can see a second field dropdown Access Rights containing a list of access rights.
The user must select the team and grant them the appropriate access rights.
In the example, Team 1 is selected, and "View", "Modify", and "Delete" access are granted to the team.
Note:
The access granting process is the same for team members as well.
After selecting a team with access rights, click OK to save the changes. Reopen the dialog box to verify that the entire team has been granted access.
Step-4
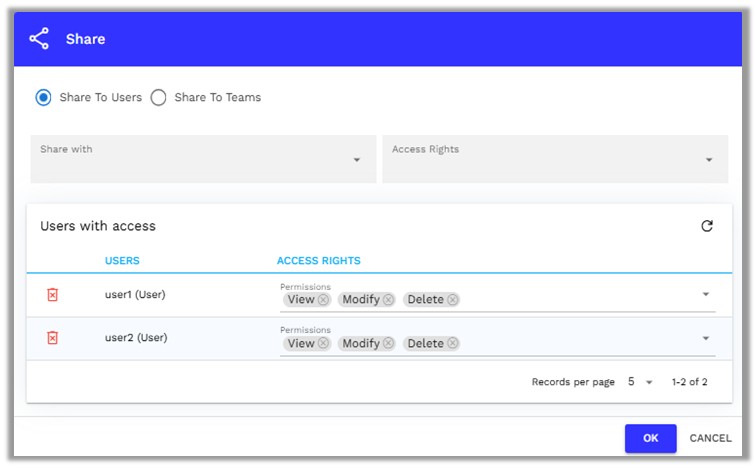
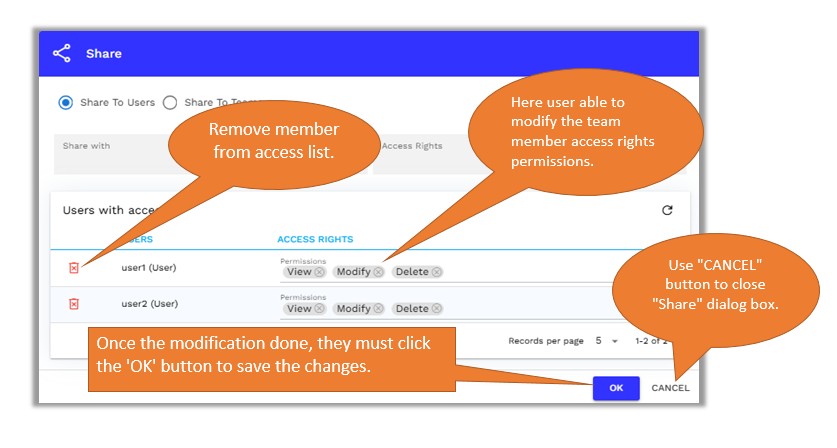
Modify members access rights
The user is able to modify the access rights of team members.
Access rights can be modified in the ACCESS RIGHTS column of the Users with Access table.
If no specific permissions are assigned to a member, it means the member has access to all permissions.
Step-5
Access Rights Details
View
Members have "View" access.
Team members are restricted from modifying the root or any of its child components and from creating new components.

Create
Members have "Create" access.
Team members cannot modify the root or existing child components but can create new components.
Delete
Members have "Delete" access.
Team members cannot save the root or existing child components and cannot create new components but can delete the root or its existing child components.
AccessControl
Members have "AccessControl" access.
Team members cannot save or modify the root or its child components or create new components.
They are authorized to grant access to other members. The save button is only visible in the access control window.
Services
Members have "Services" access.
Team members cannot save the application or existing components or create new components but can start/stop services only.
Modify or Leave Blank Permission Section
Members have "Modify" access.
Team members can save the root or existing child components, create new components, and delete root and child components (full access).
Limitations
When granting access to any application to a user, it is necessary to provide access to the base version first.
If access to a higher version is granted without first providing access to the base version, the user cannot see the higher version listed in the application list. To ensure proper visibility, grant access to the base version first. Once this is done, all granted versions appear in the application tree or list.
Note
User is not supposed to create Team or User. (Our technical team creates this.)