Web Modules and Web UI
Create and configure a web module.
Overview
Contineo allows creation of one or more Web Modules within an Application. Every Web Module can be considered as a web application that has a unique HTTP endpoint.
Creation of a Web Module involves the following steps at the minimum:
Including User Interfaces (Auto generated or custom UI).
Setting the Home page.
Configuring Authentication service.
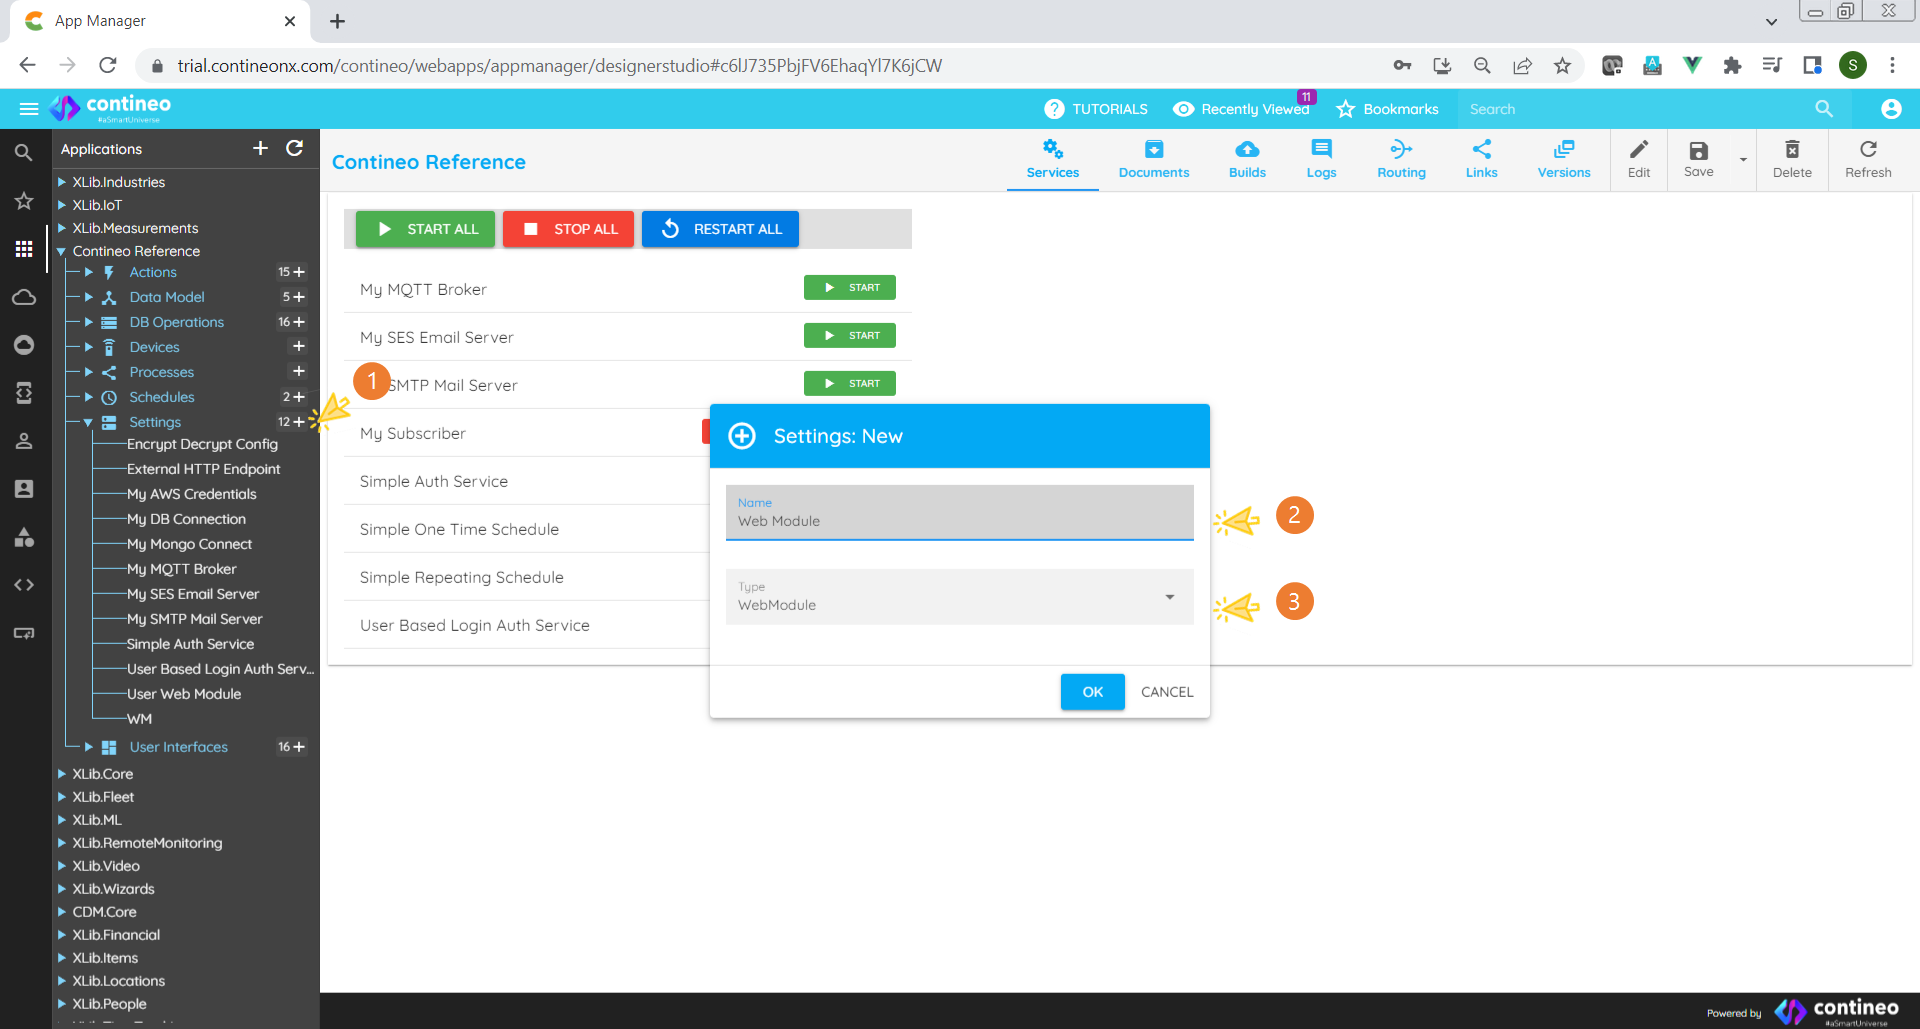
Steps
Click
<Application Name>> Settings > "+"Enter a unique name for the Web Module.
Select WebModule from the Type dropdown list.
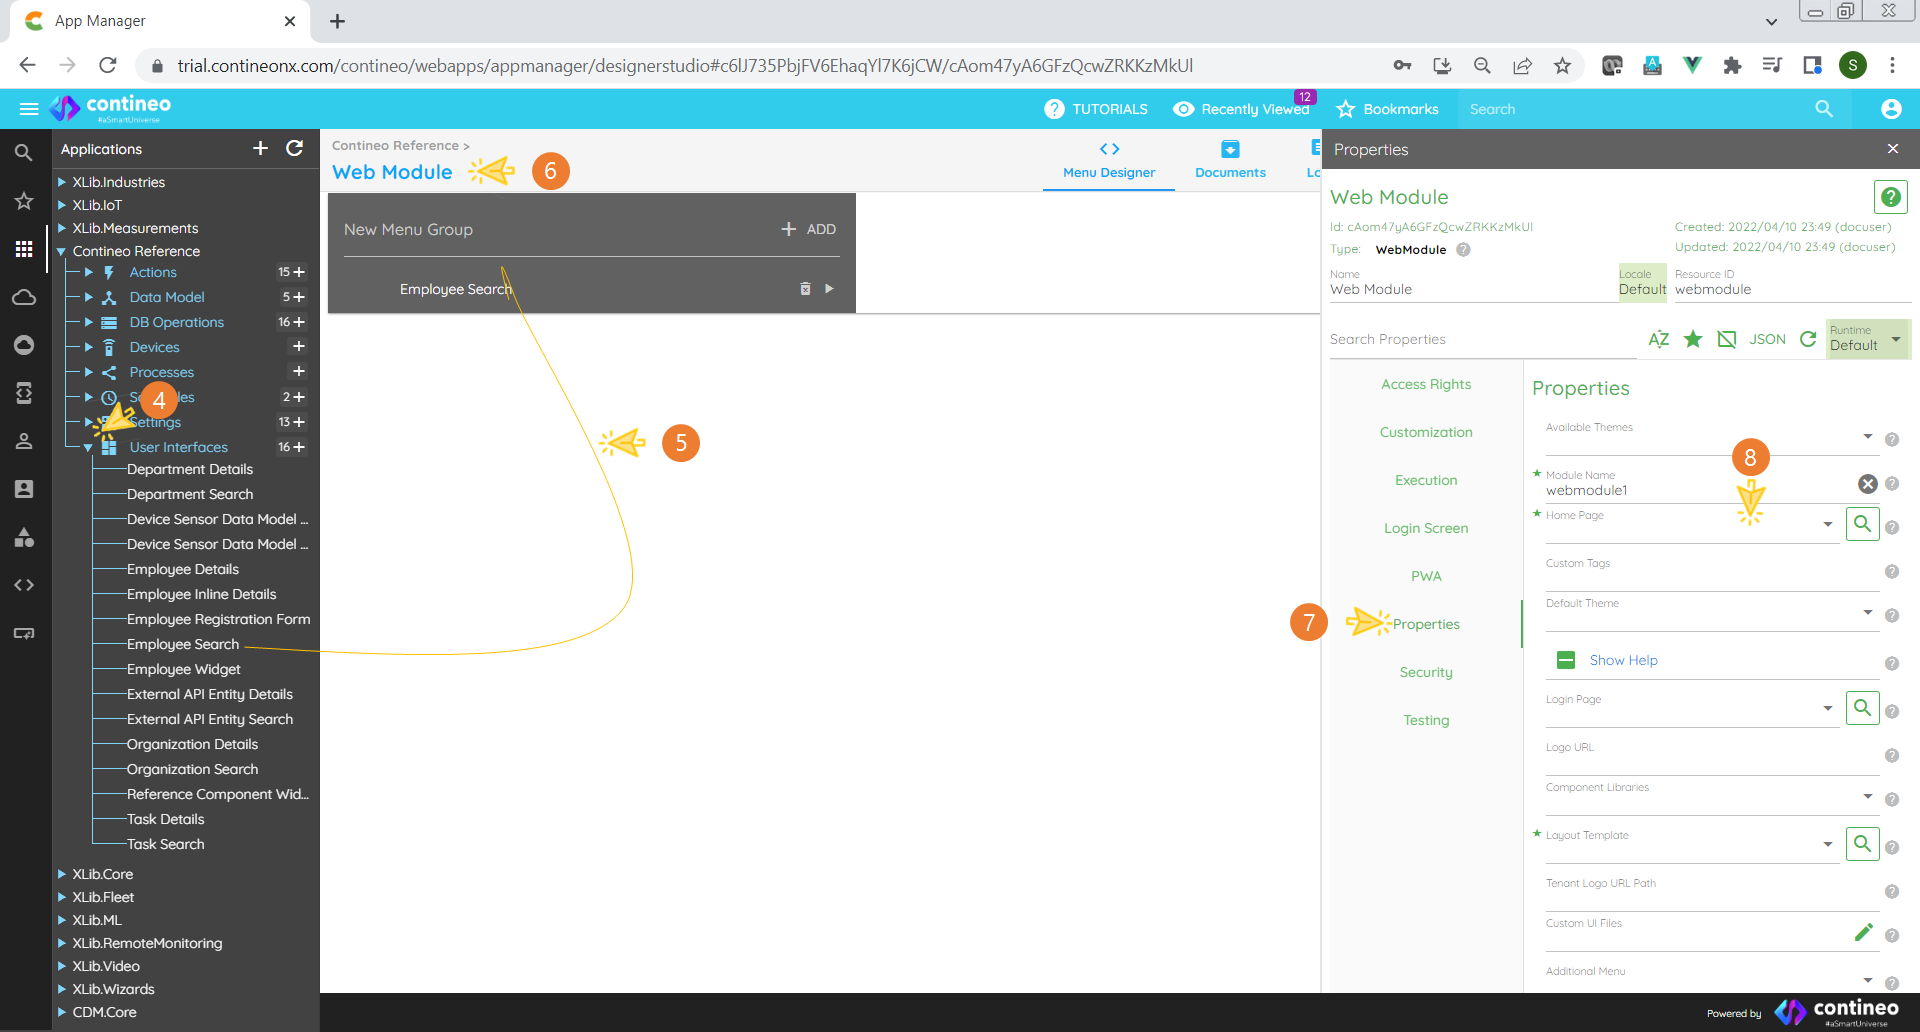
Expand User Interfaces
Drag one or more User Interfaces into the drop area.
Open the Properties Panel by clicking the web module.
Click Properties.
Select the Home Page from the dropdown list. This page is displayed when the user accesses the Web Module.
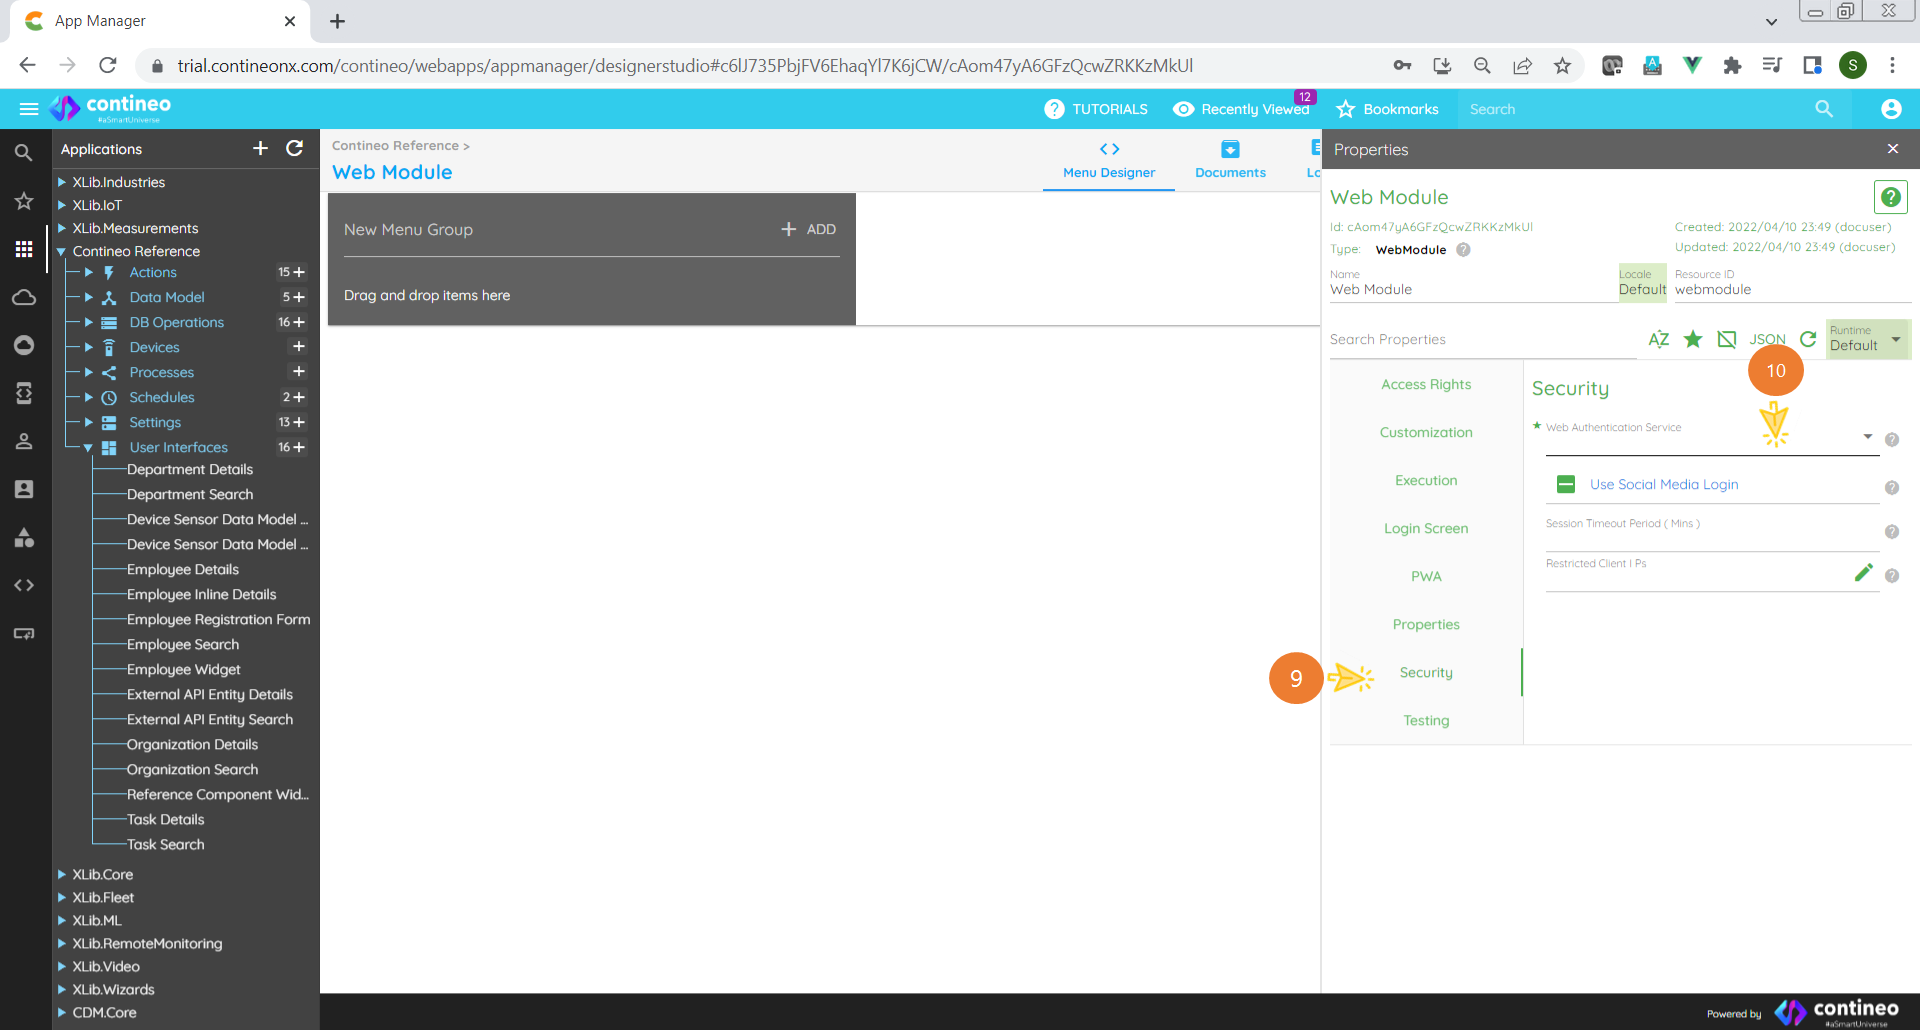
Click Security.
Select the Authentication Service from the list. Hint: For test purposes you may use the Demo Auth Service, which has a static username/password combination: demo/demo
Customization
Custom Logo
Contineo applications can be configured to use different logos, layouts and themes:
Navigate to
<Application>> Settings and select the Web Module.Click on the WebModule name to open the Properties Panel.
Click on Properties and provide a link of the logo image in Logo URL.
Result:
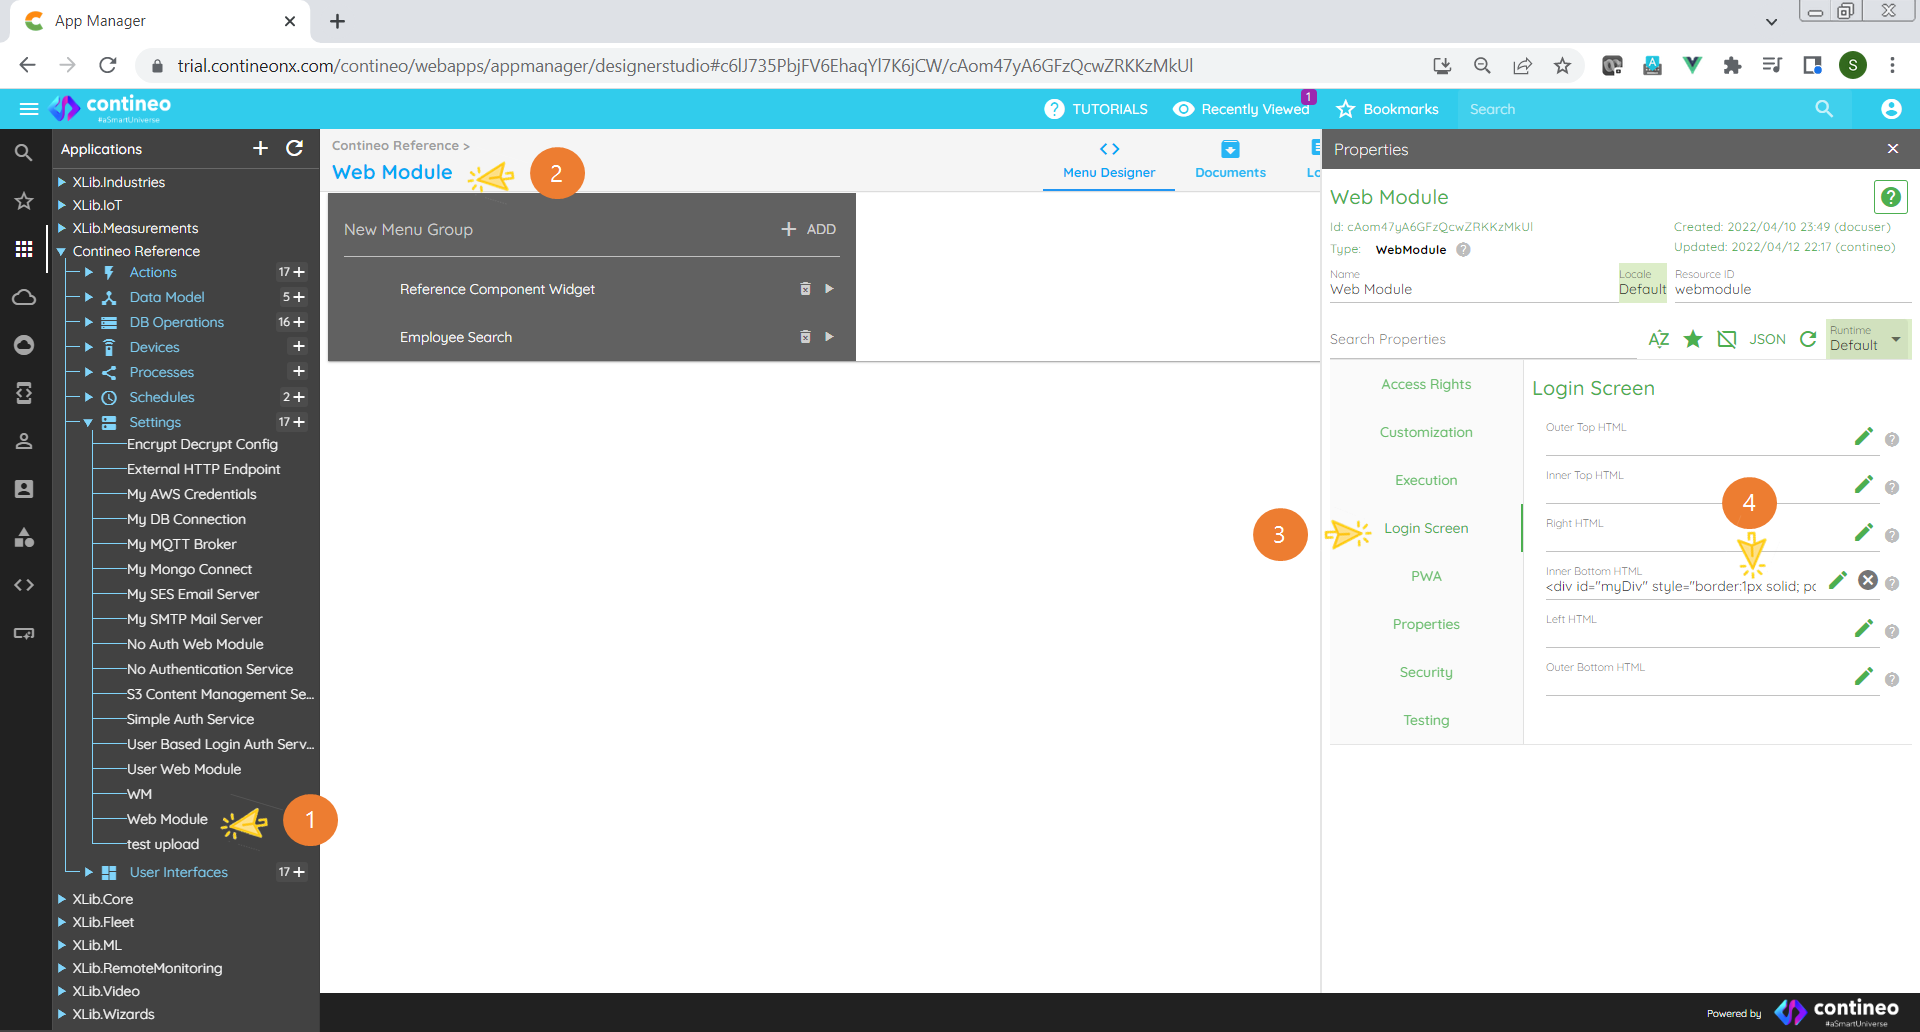
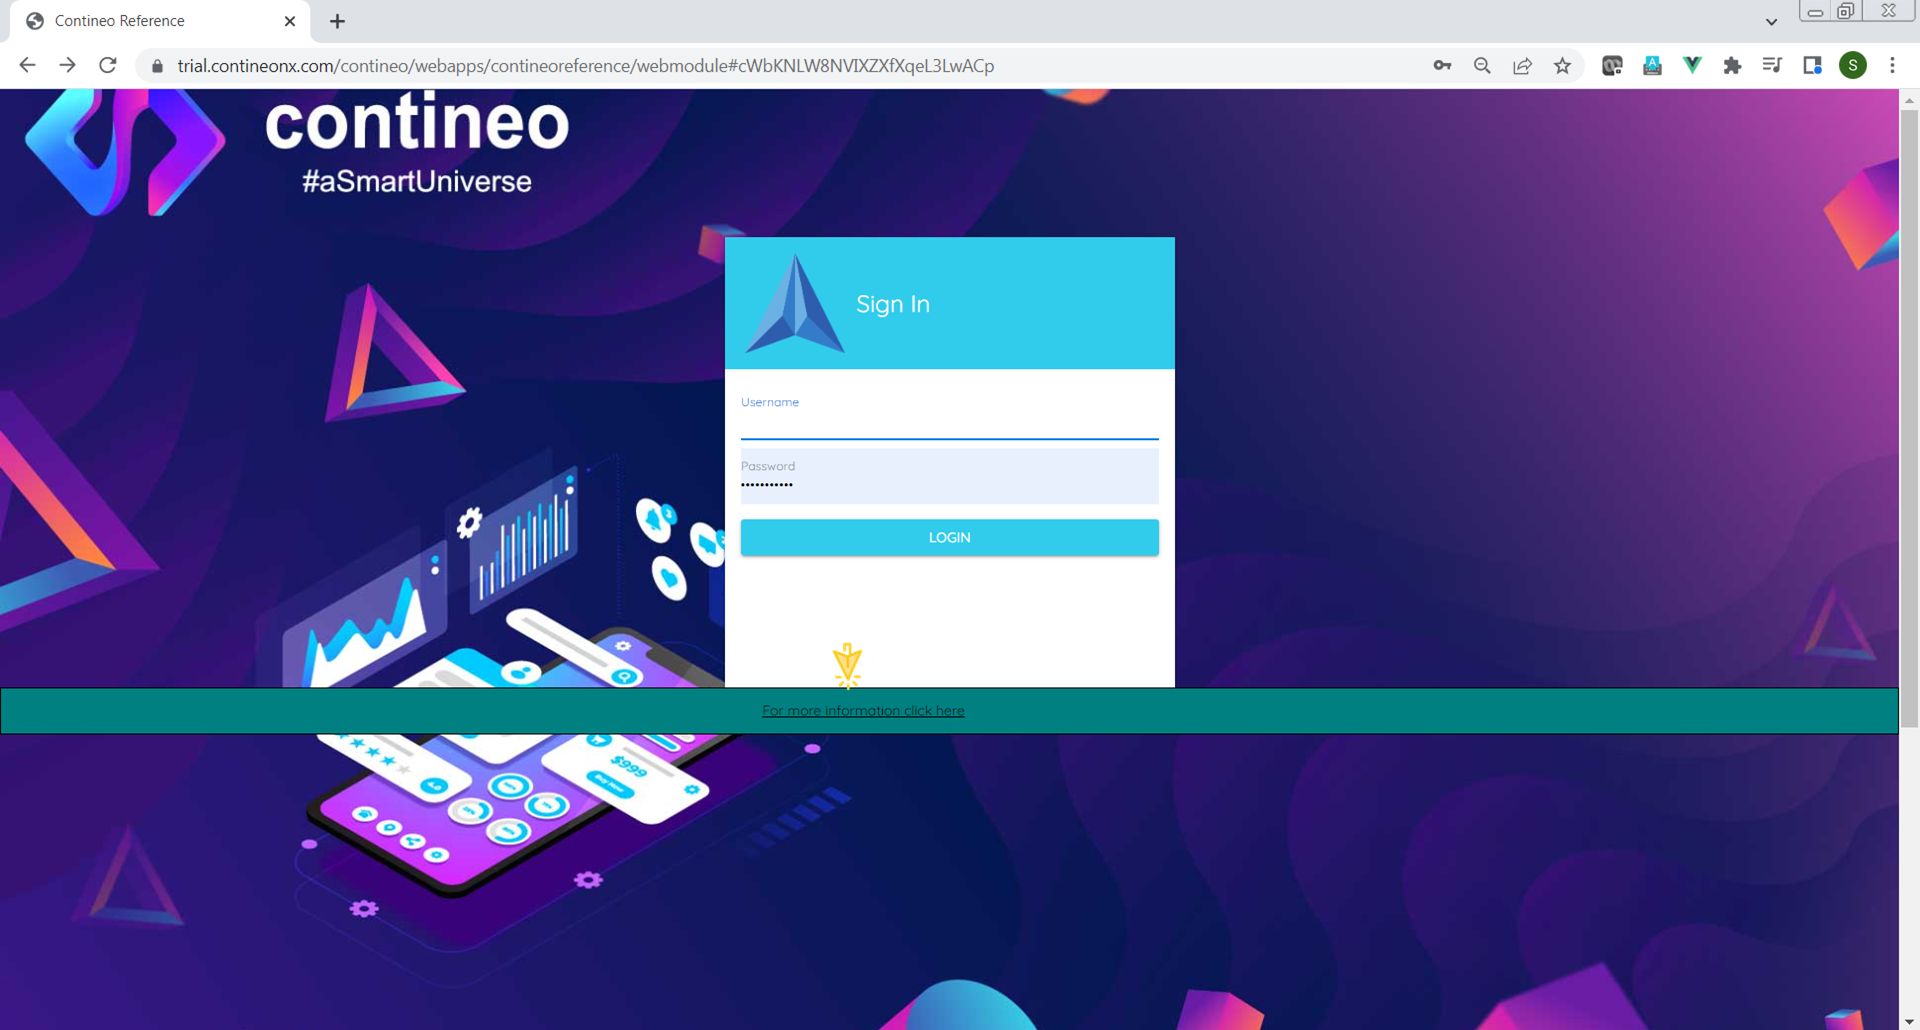
Login Page Customization
At times it is necessary to customize the Login page. For instance, it may be necessary to add a link at the bottom of the login page or provide OAuth signup options.
Steps:
Select
<Application>> Settings ><Web Module>Click
<Module Name>to open the Properties panelClick Login
Open the appropriate editor and enter custom HTML
Result:
Security
Various security features, including session timeout of Contineo web modules, can be configured.
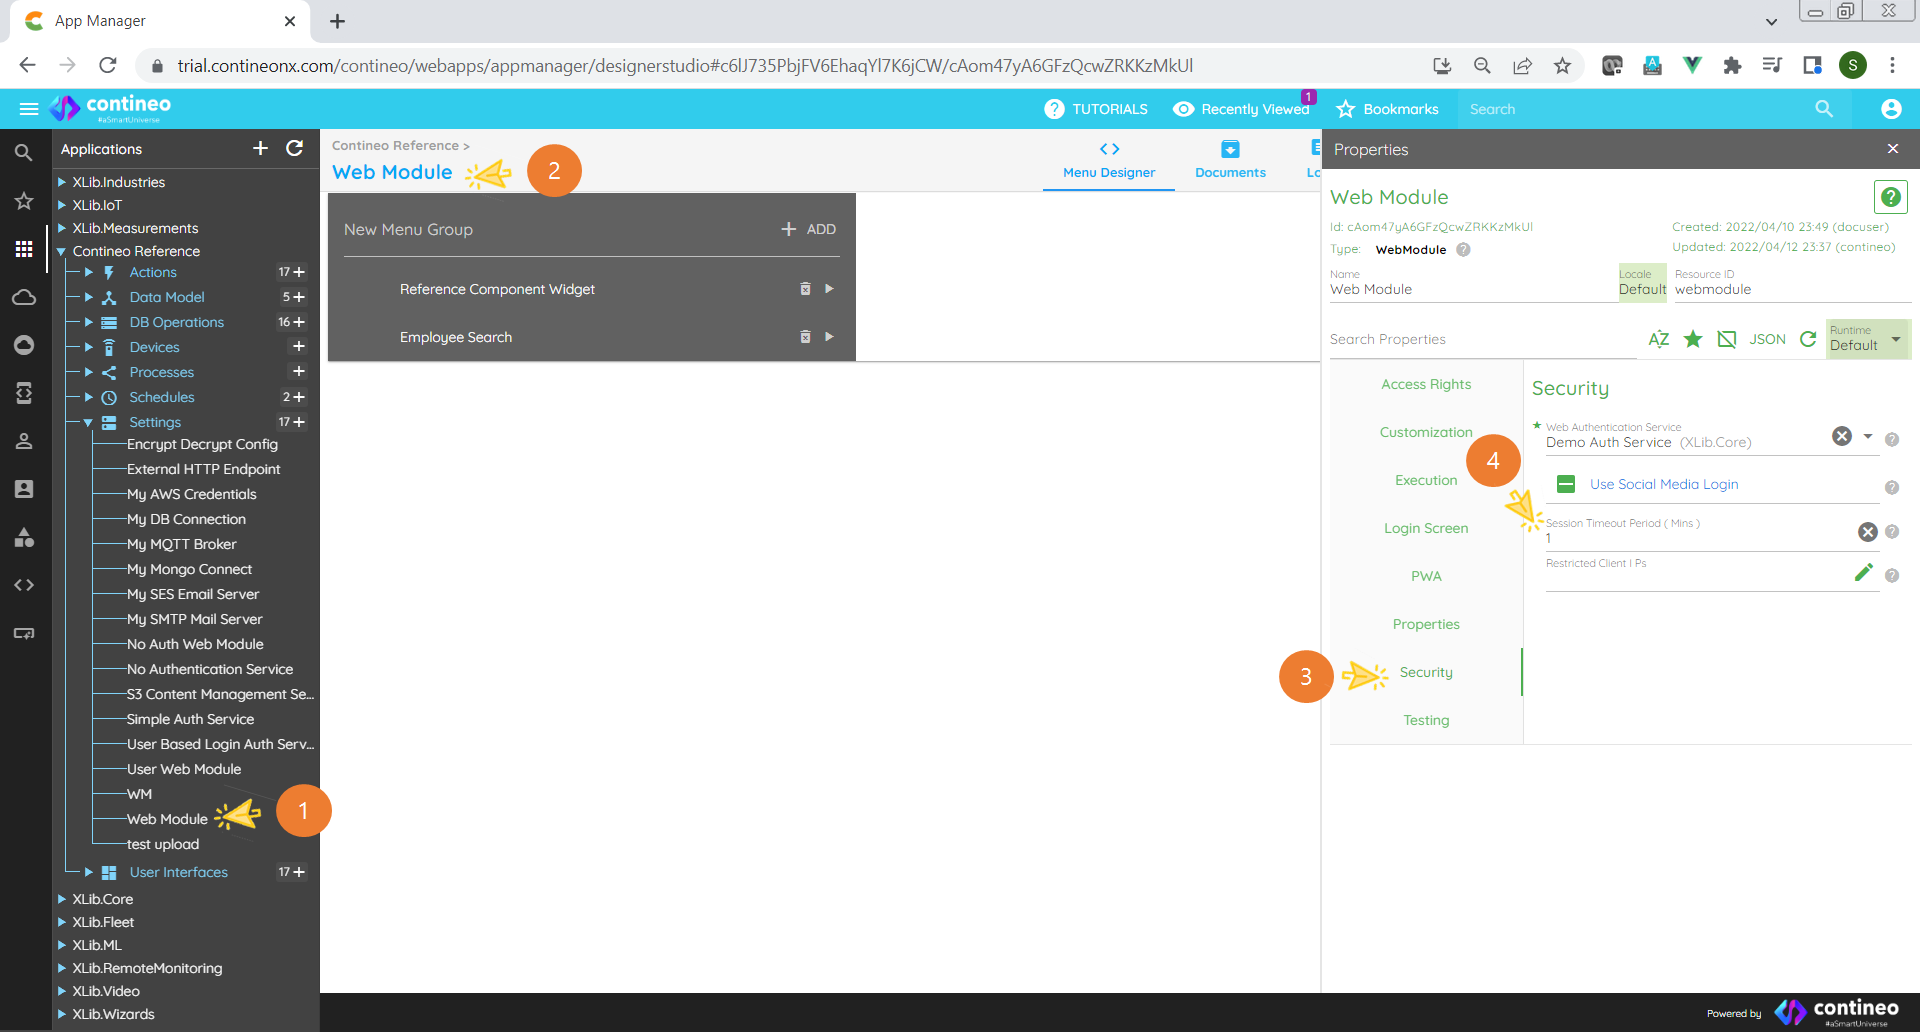
Steps:
Select
<Application>> Settings ><Web Module>Click
<Module Name>to open the Properties panelClick Security
Set Session Timeout Period
This terminates the HTTP session if it remains idle for the specified period.
Primary Menu
When the web module is created, by default, a menu group is seen. When you drag your screens into this menu, it is called the Primary menu.
Secondary Menu
If you want any additional menu as a secondary menu, then proceed with the following steps:
Create a new WebModule B.
In your WebModule A, set WebModule B as Additional Menu.
WebModule > Properties > Additional Menu > select B from dropdown
This additional menu appears in the top menu bar.