The NeoPilot Application Builder offers a streamlined process for creating custom applications. Users begin by logging into the NeoPilot Platform and typing "I want to build an Application" in the chat interface. This prompts a display of pre-built agents, where users can select Application Builder and click Learn More to view its capabilities. After reviewing detailed information, users subscribe to a suitable plan and receive confirmation of their subscription.
Once subscribed, users launch the builder by clicking the Run button. The setup wizard guides users through personalizing their application: naming it, uploading a logo, selecting a theme color scheme, choosing a font style, and configuring compaction settings. After completing these steps and clicking Finish, the system processes the configuration settings and creates the application environment.
The interface includes a convenient Switch Application button, allowing users to toggle between different projects. This comprehensive yet user-friendly process enables developers to rapidly establish the foundation for their custom applications within the NeoPilot ecosystem.
Launching the Application Builder agent
Log in to the NeoPilot Platform. Once logged in, you are greeted with the NeoPilot Assistant screen.
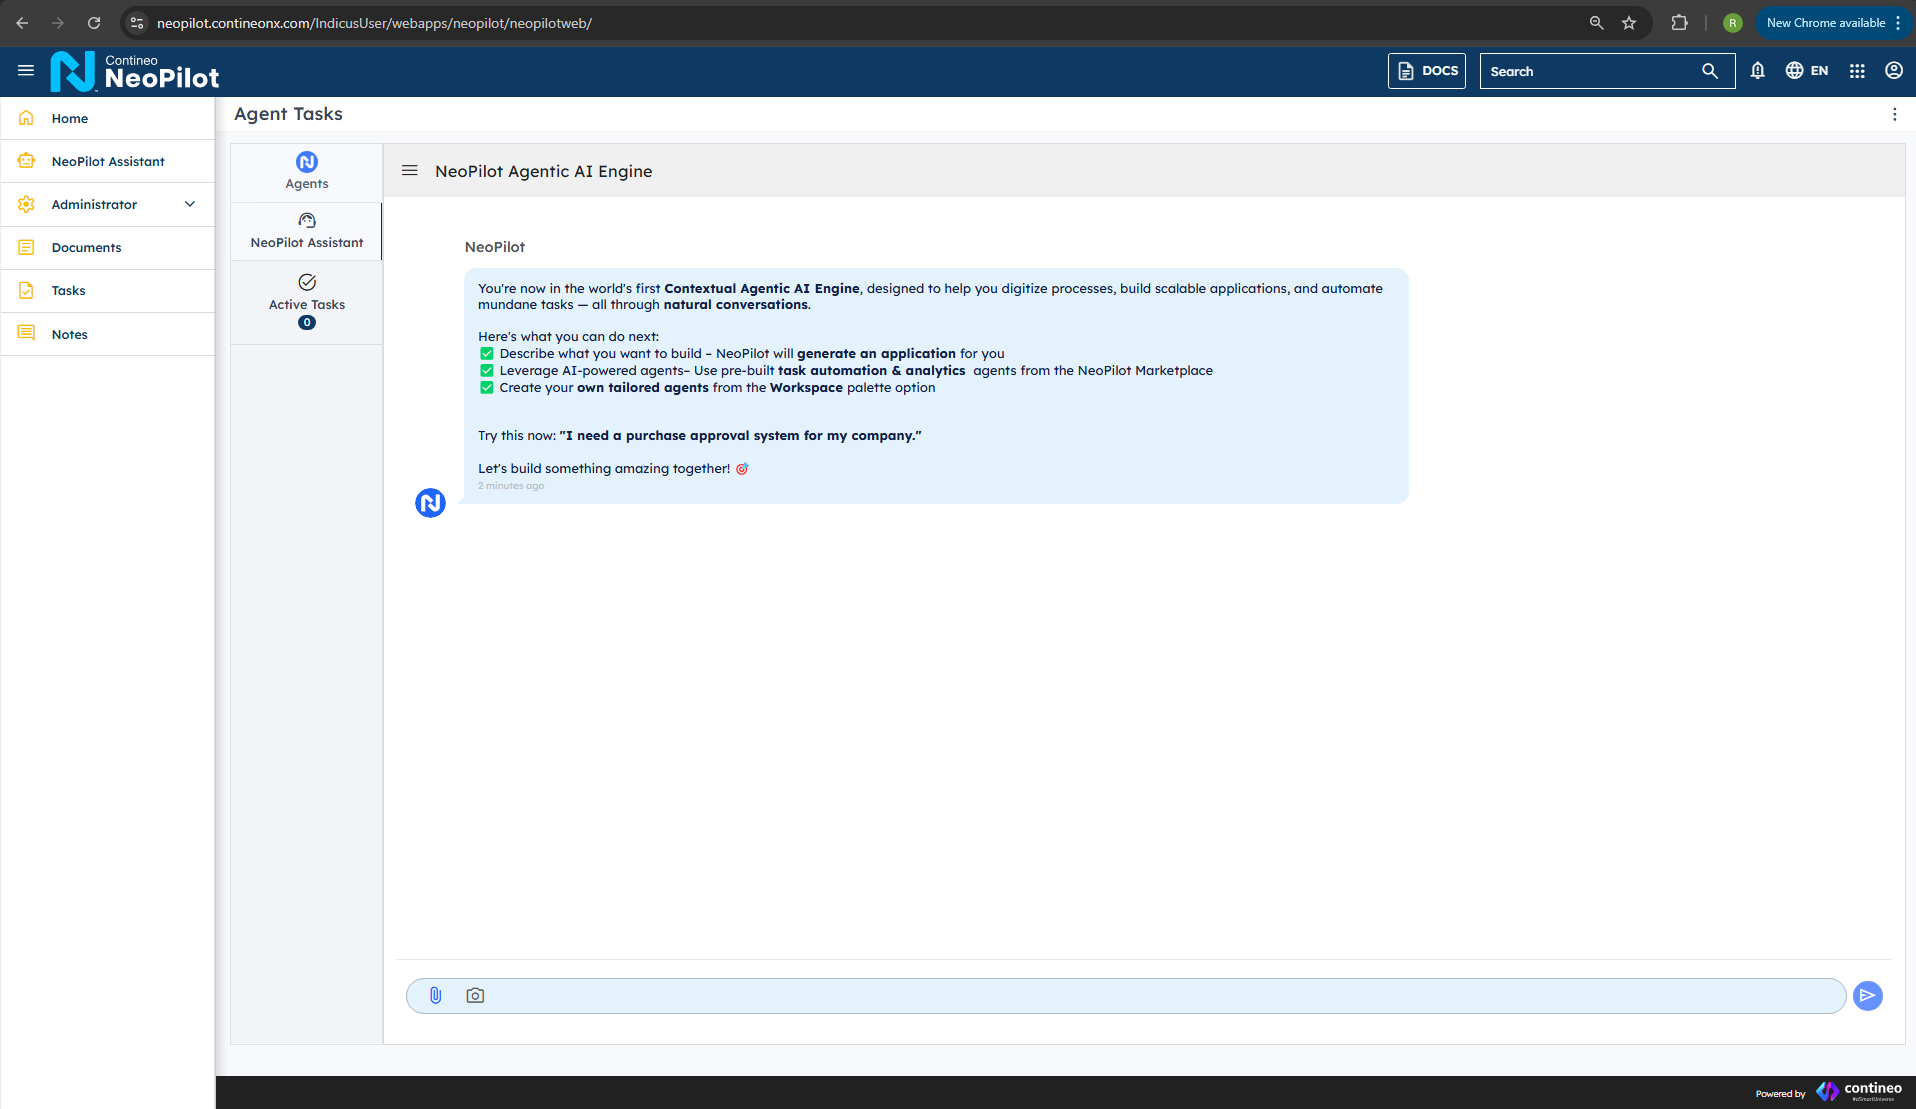
In the chat bar at the bottom, type the prompt: I want to build an Application.
 NeoPilot assistant screen with chat prompt
The assistant responds by displaying a list of pre-built agents and applications designed to support various development goals.
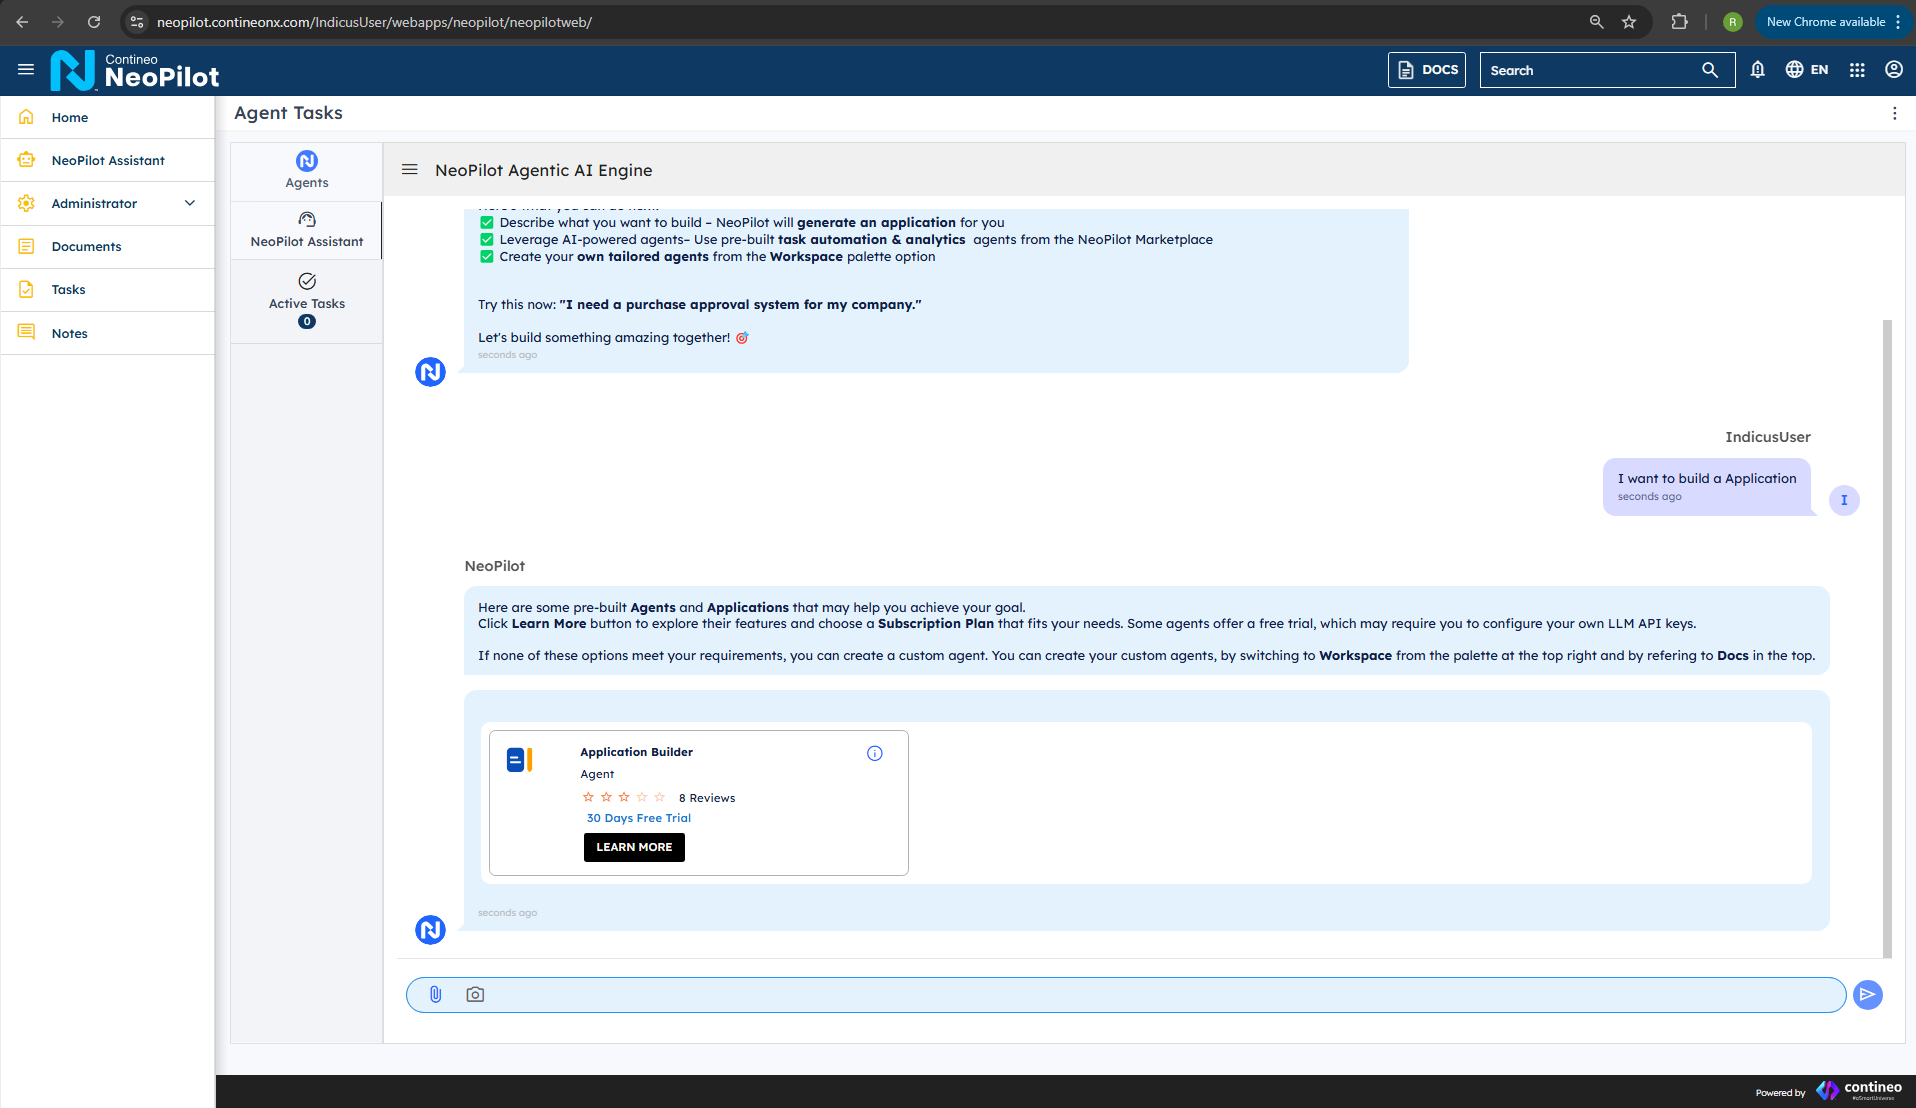 NeoPilot pre-built agents selection
Find the Application Builder option and click Learn More. A dialog box is displayed containing detailed information about the agent and its capabilities.
Click Subscribe Now to proceed with the subscription.
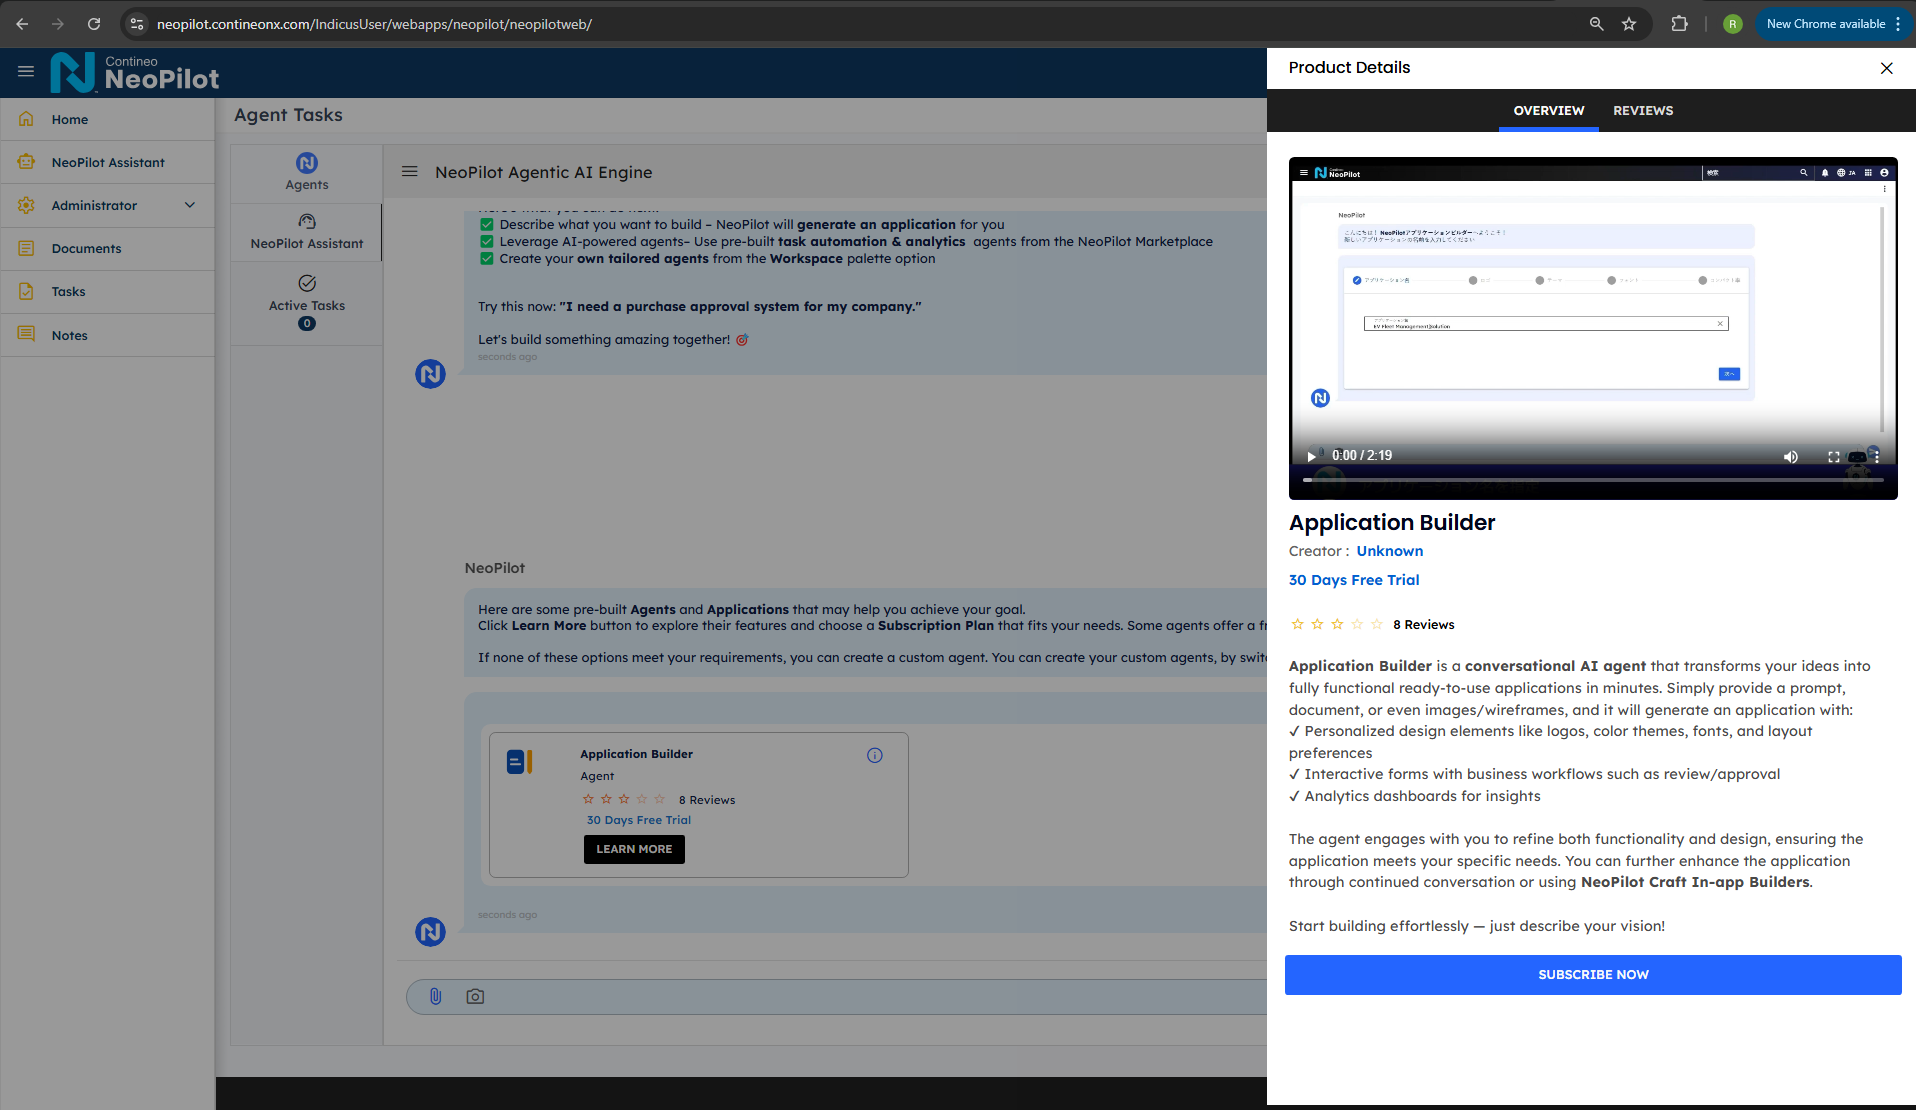 NeoPilot Application Builder information
Browse through the available subscription plans and click Select Plan on the one that best fits your needs.
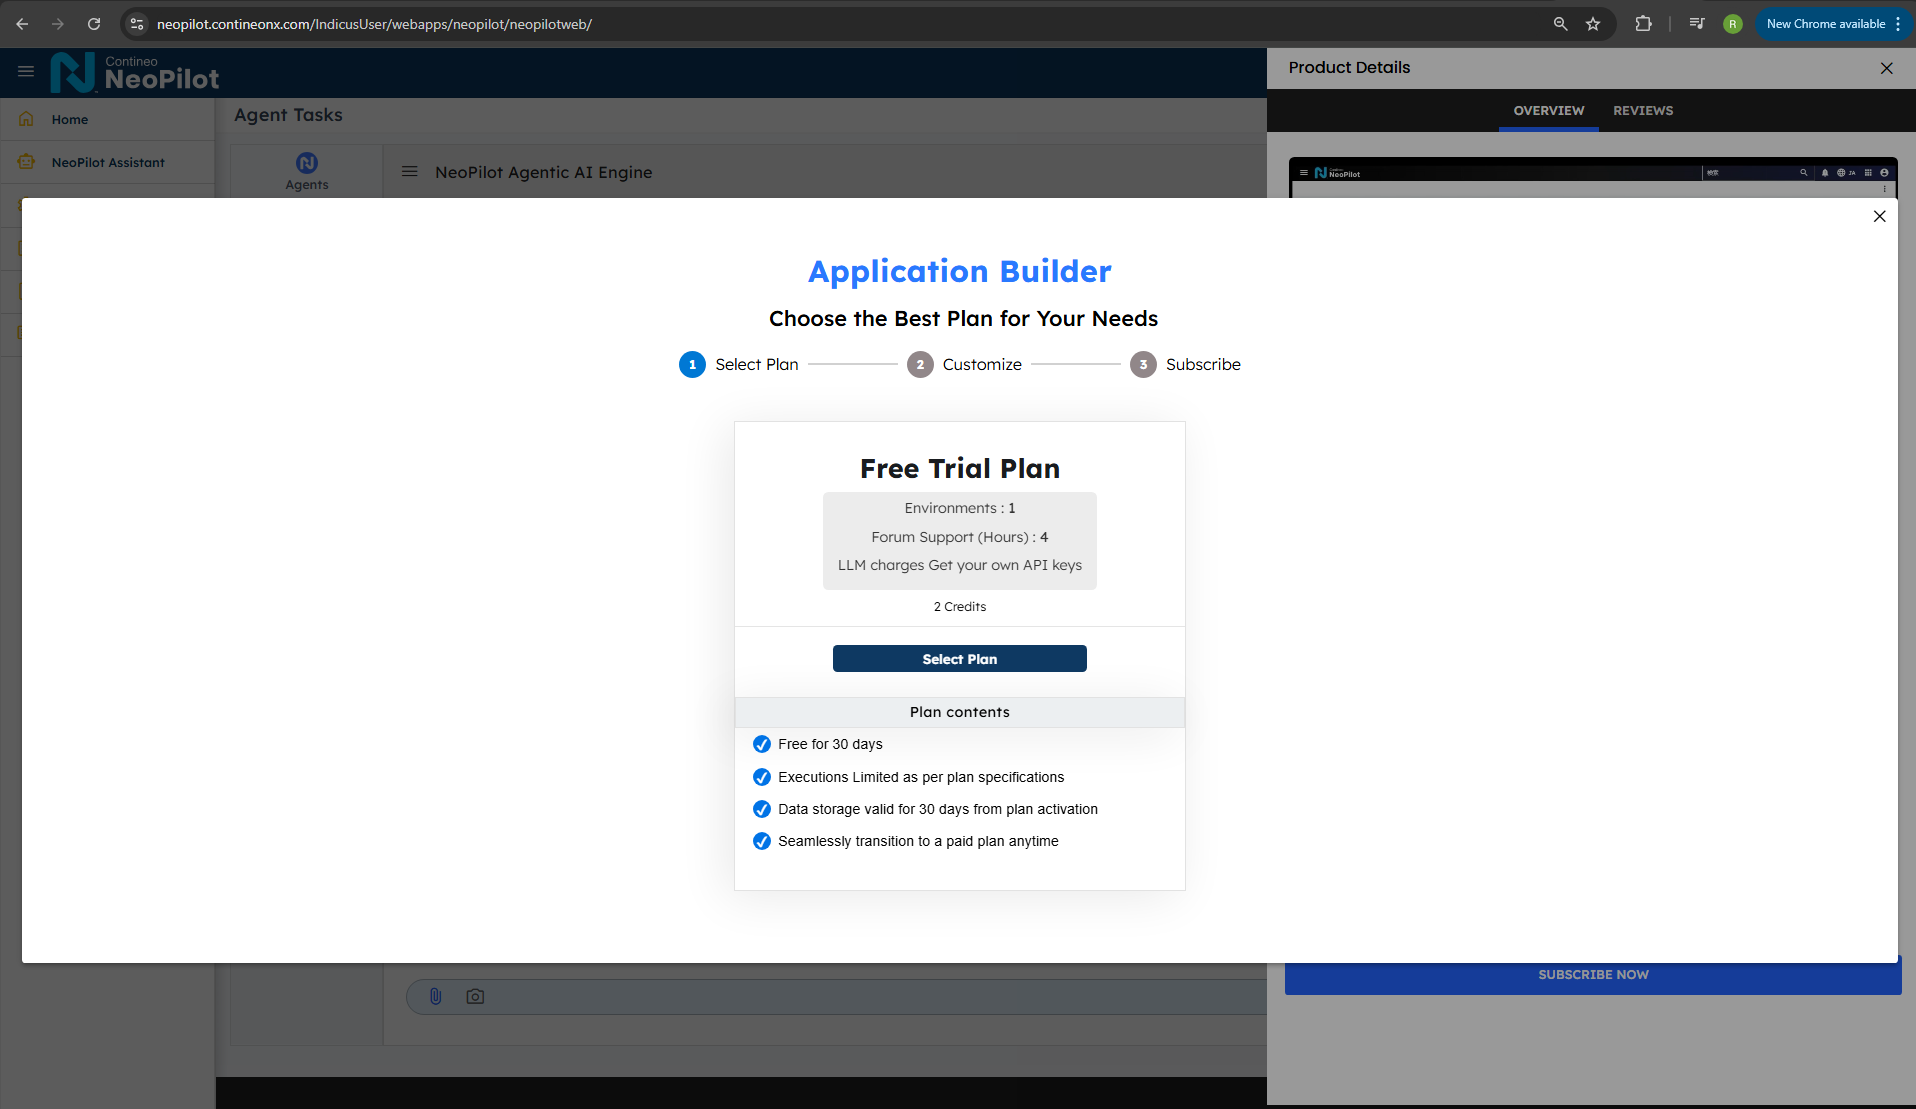 NeoPilot subscription plans
Upon successful subscription, a confirmation popup appears.
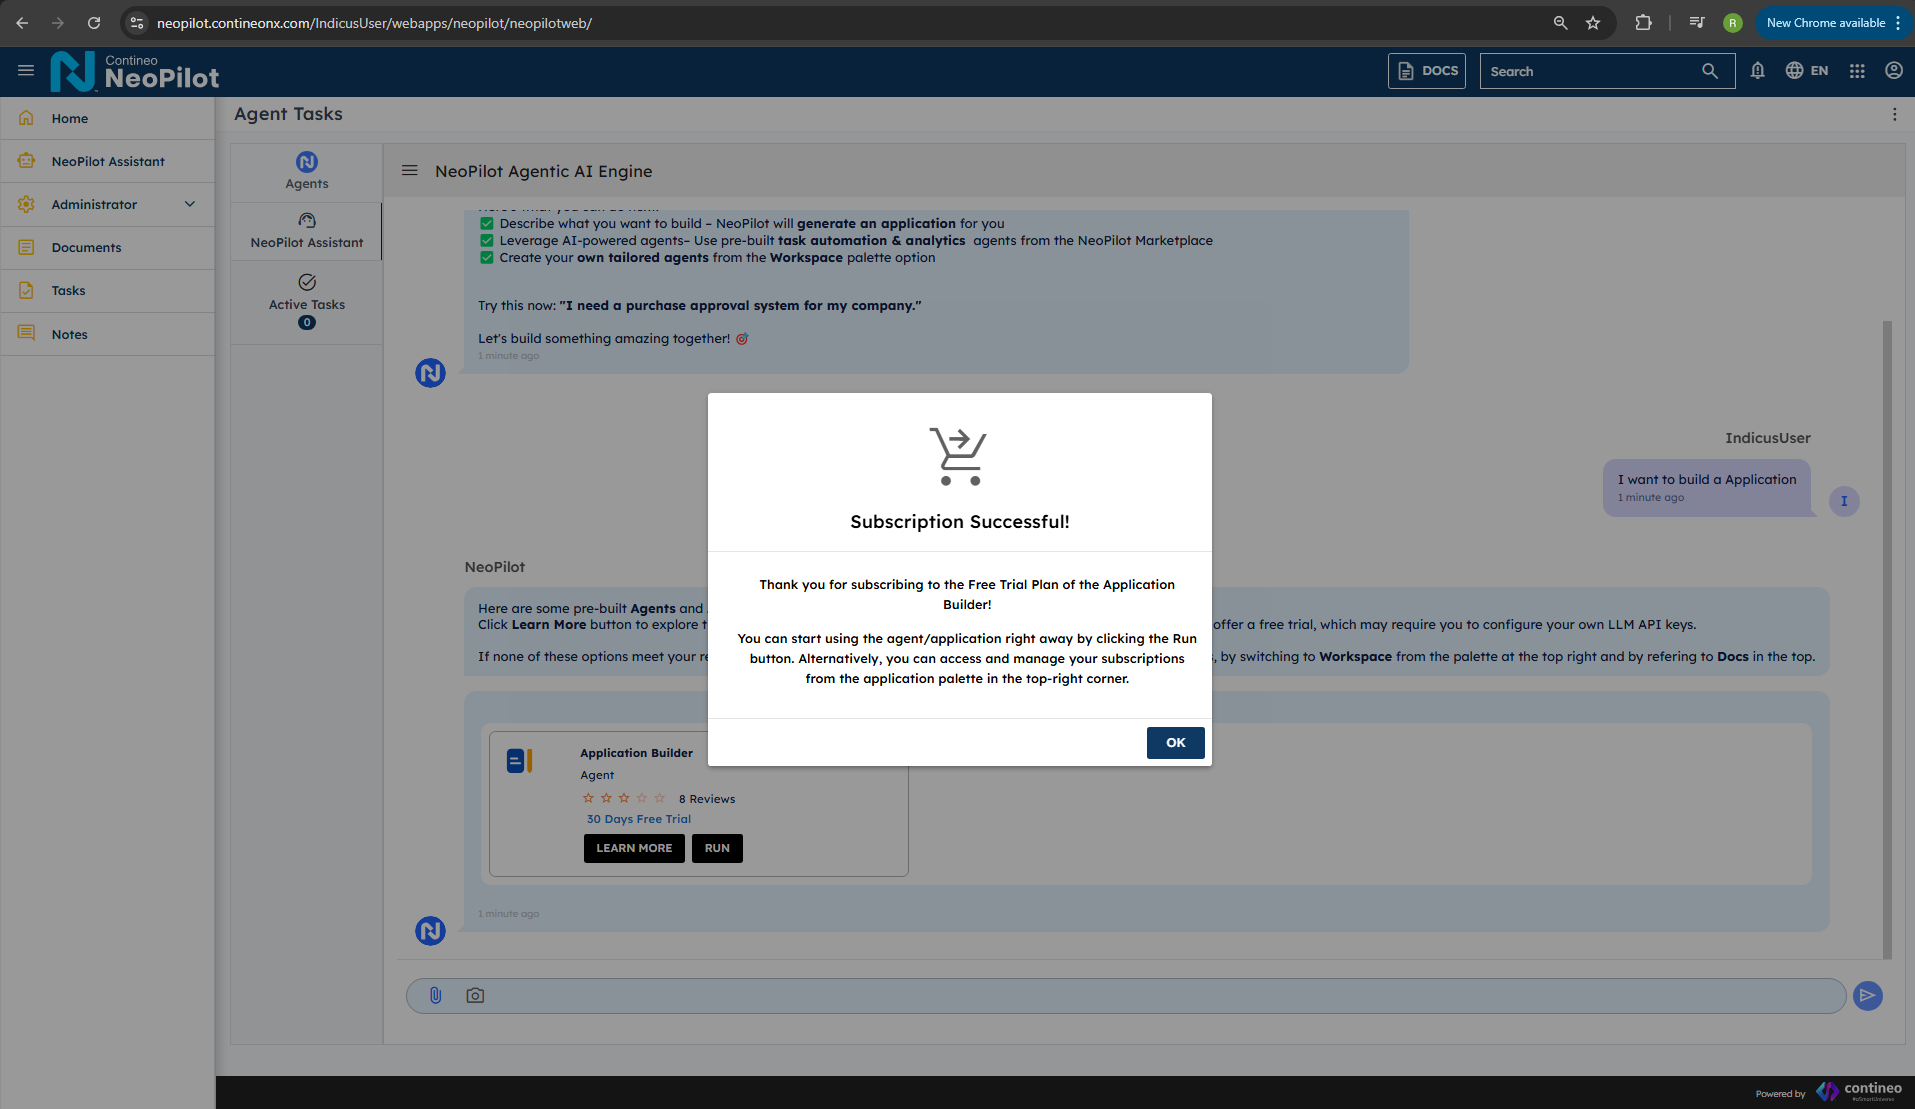 NeoPilot subscription confirmation
To start building, click Run next to the Application Builder agent to launch the builder.

All the subscribed agents can be seen in three places: next to Active Tasks, in the Agents section, and in the 9-dot menu on the right.
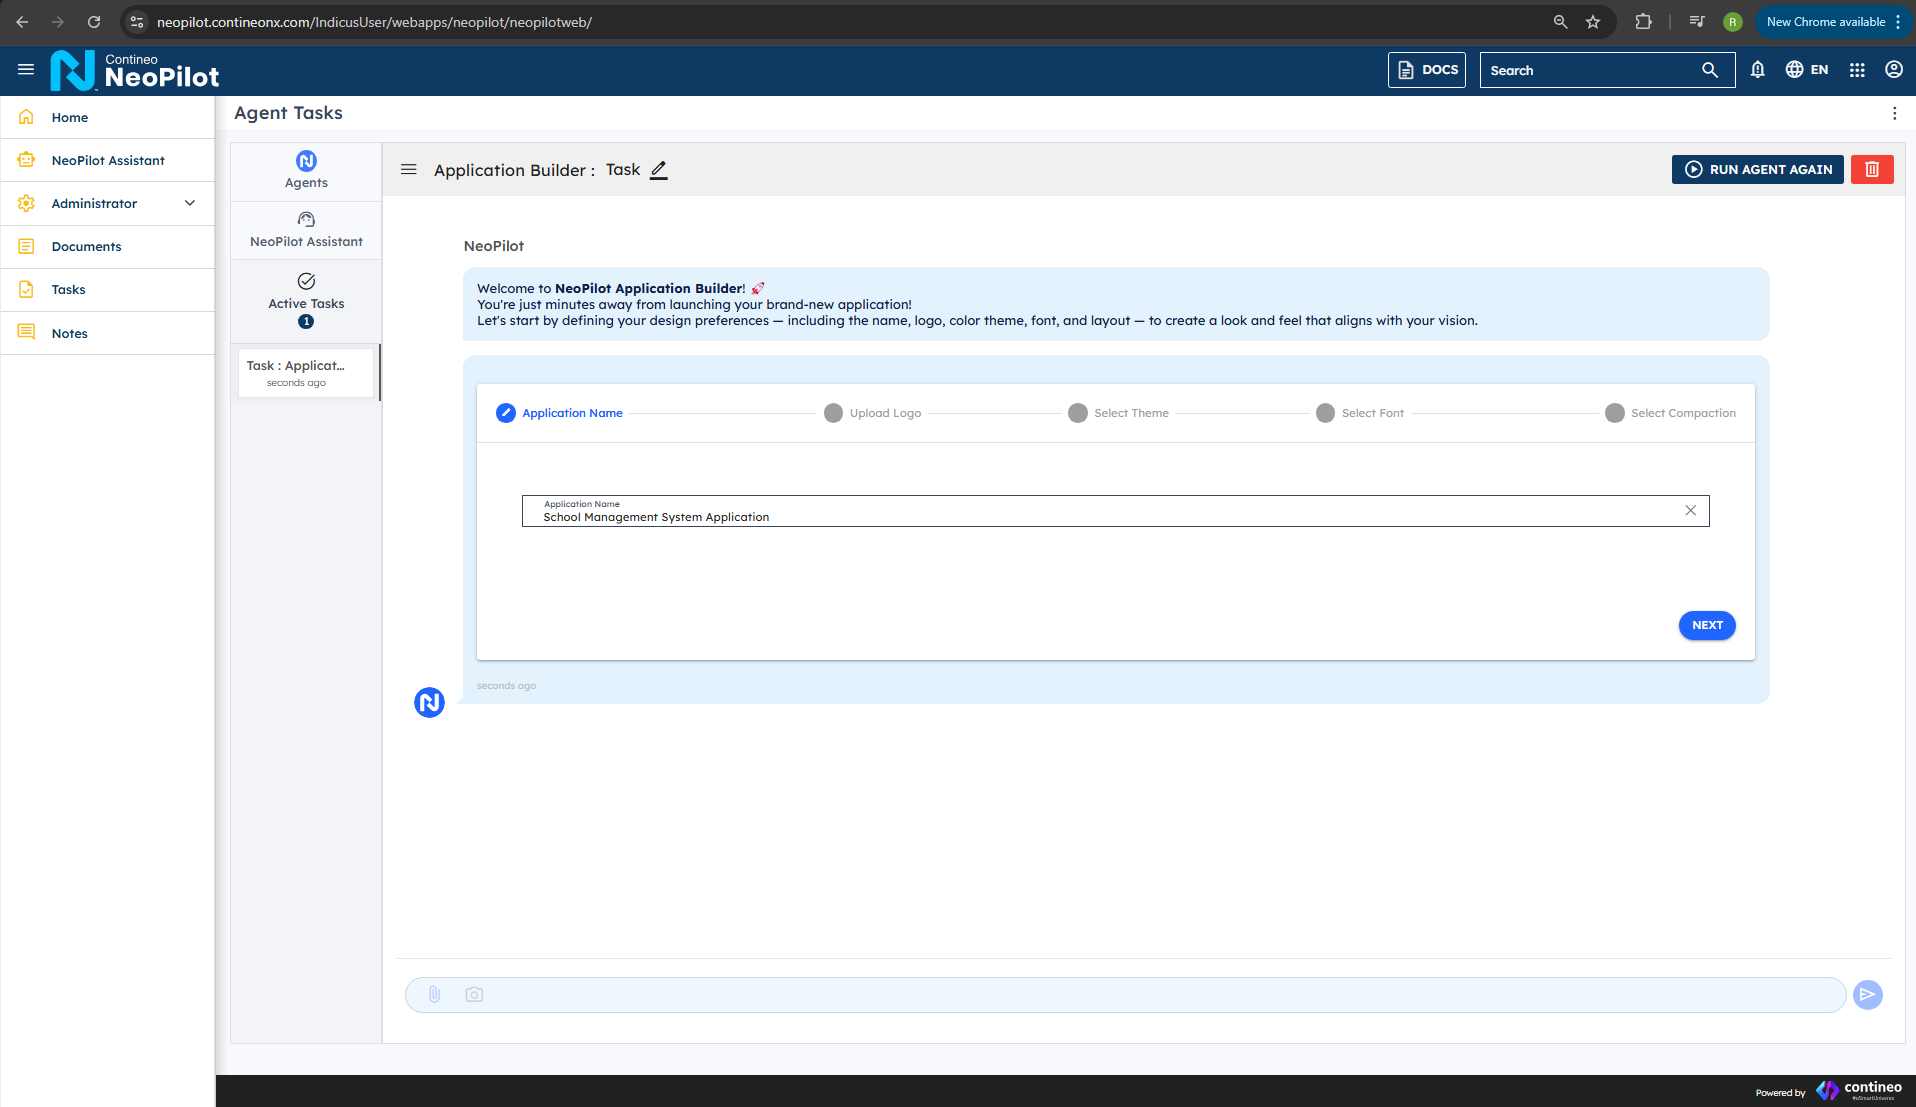
Initial Setup for Your Application
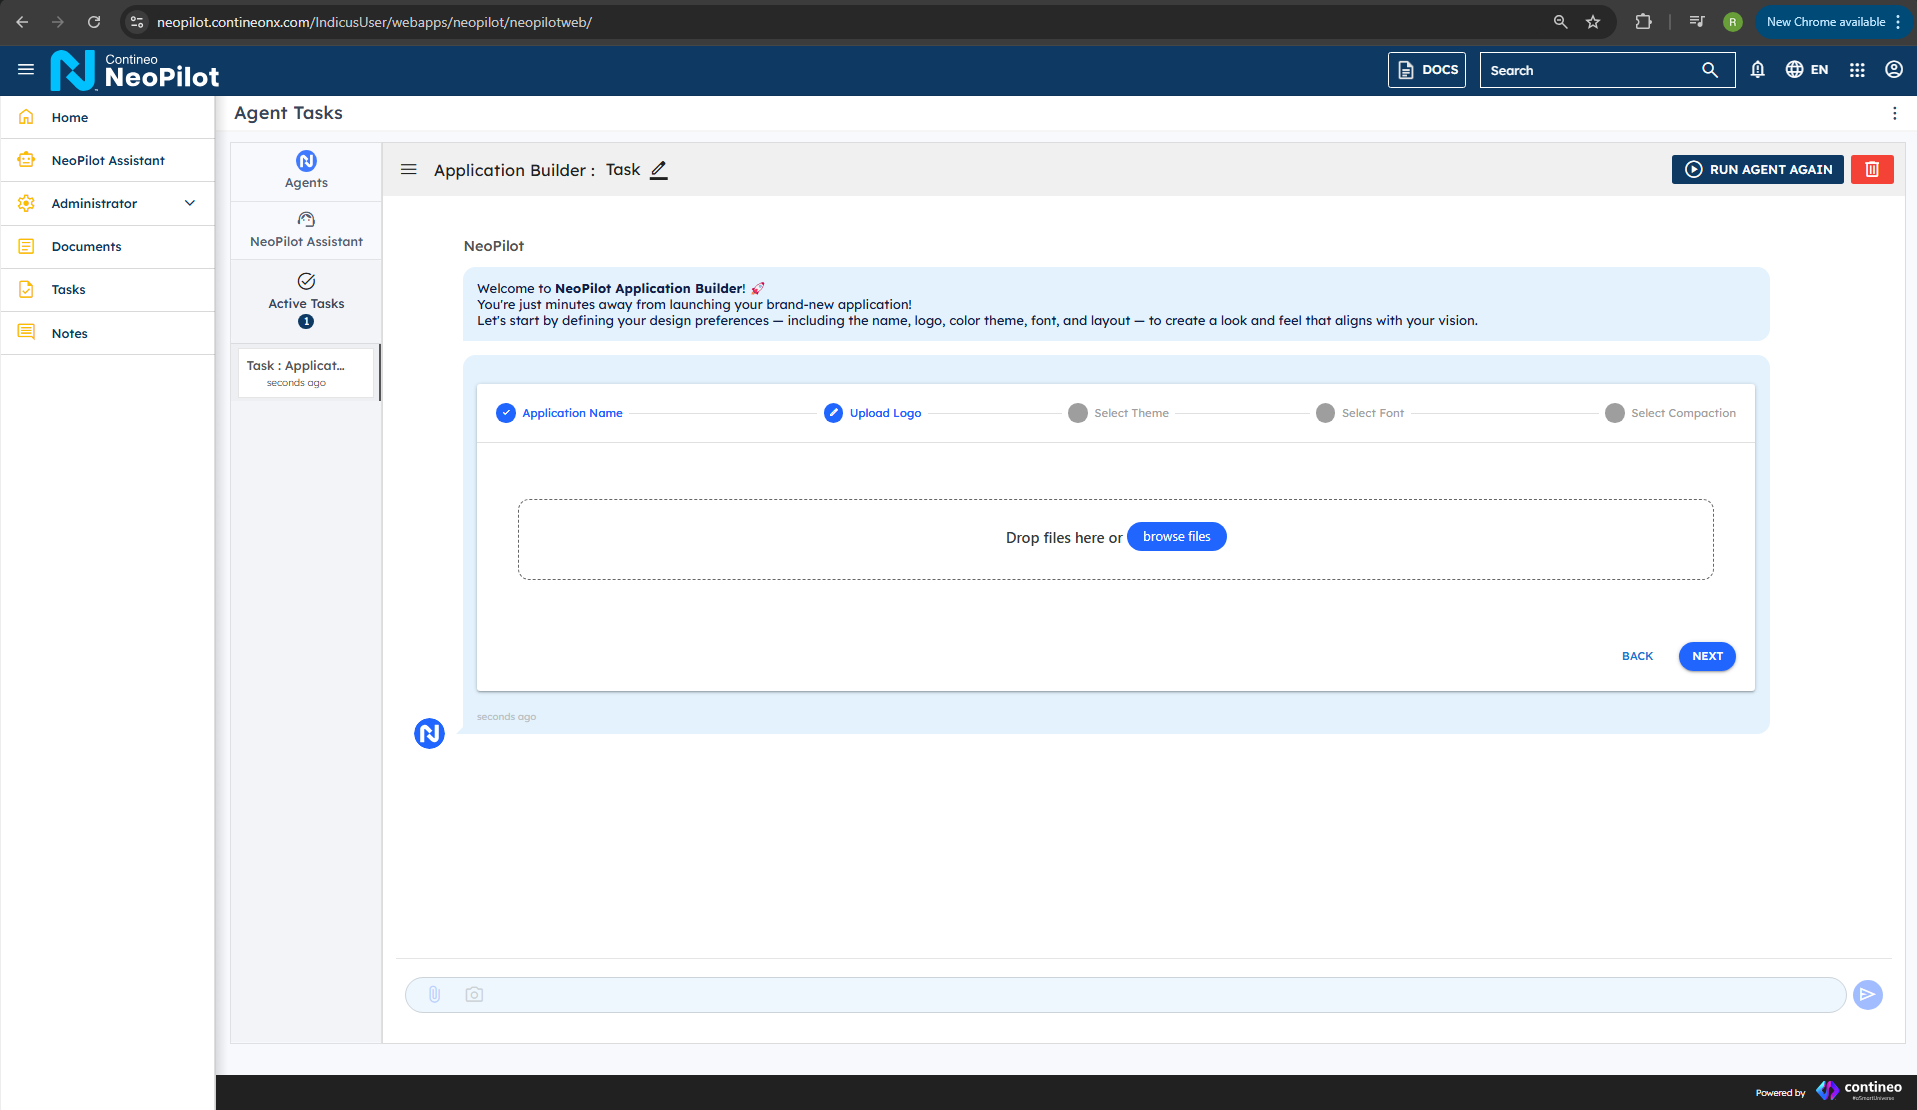
You can see a welcome message from the Neopilot Application Builder.
Enter your desired application name in the provided field and click Next to proceed.
NeoPilot Application name entryTo upload your application logo, click Browse Files. Once selected, click Next to continue.
 NeoPilot logo upload
Choose your preferred theme from the available options and click Next.
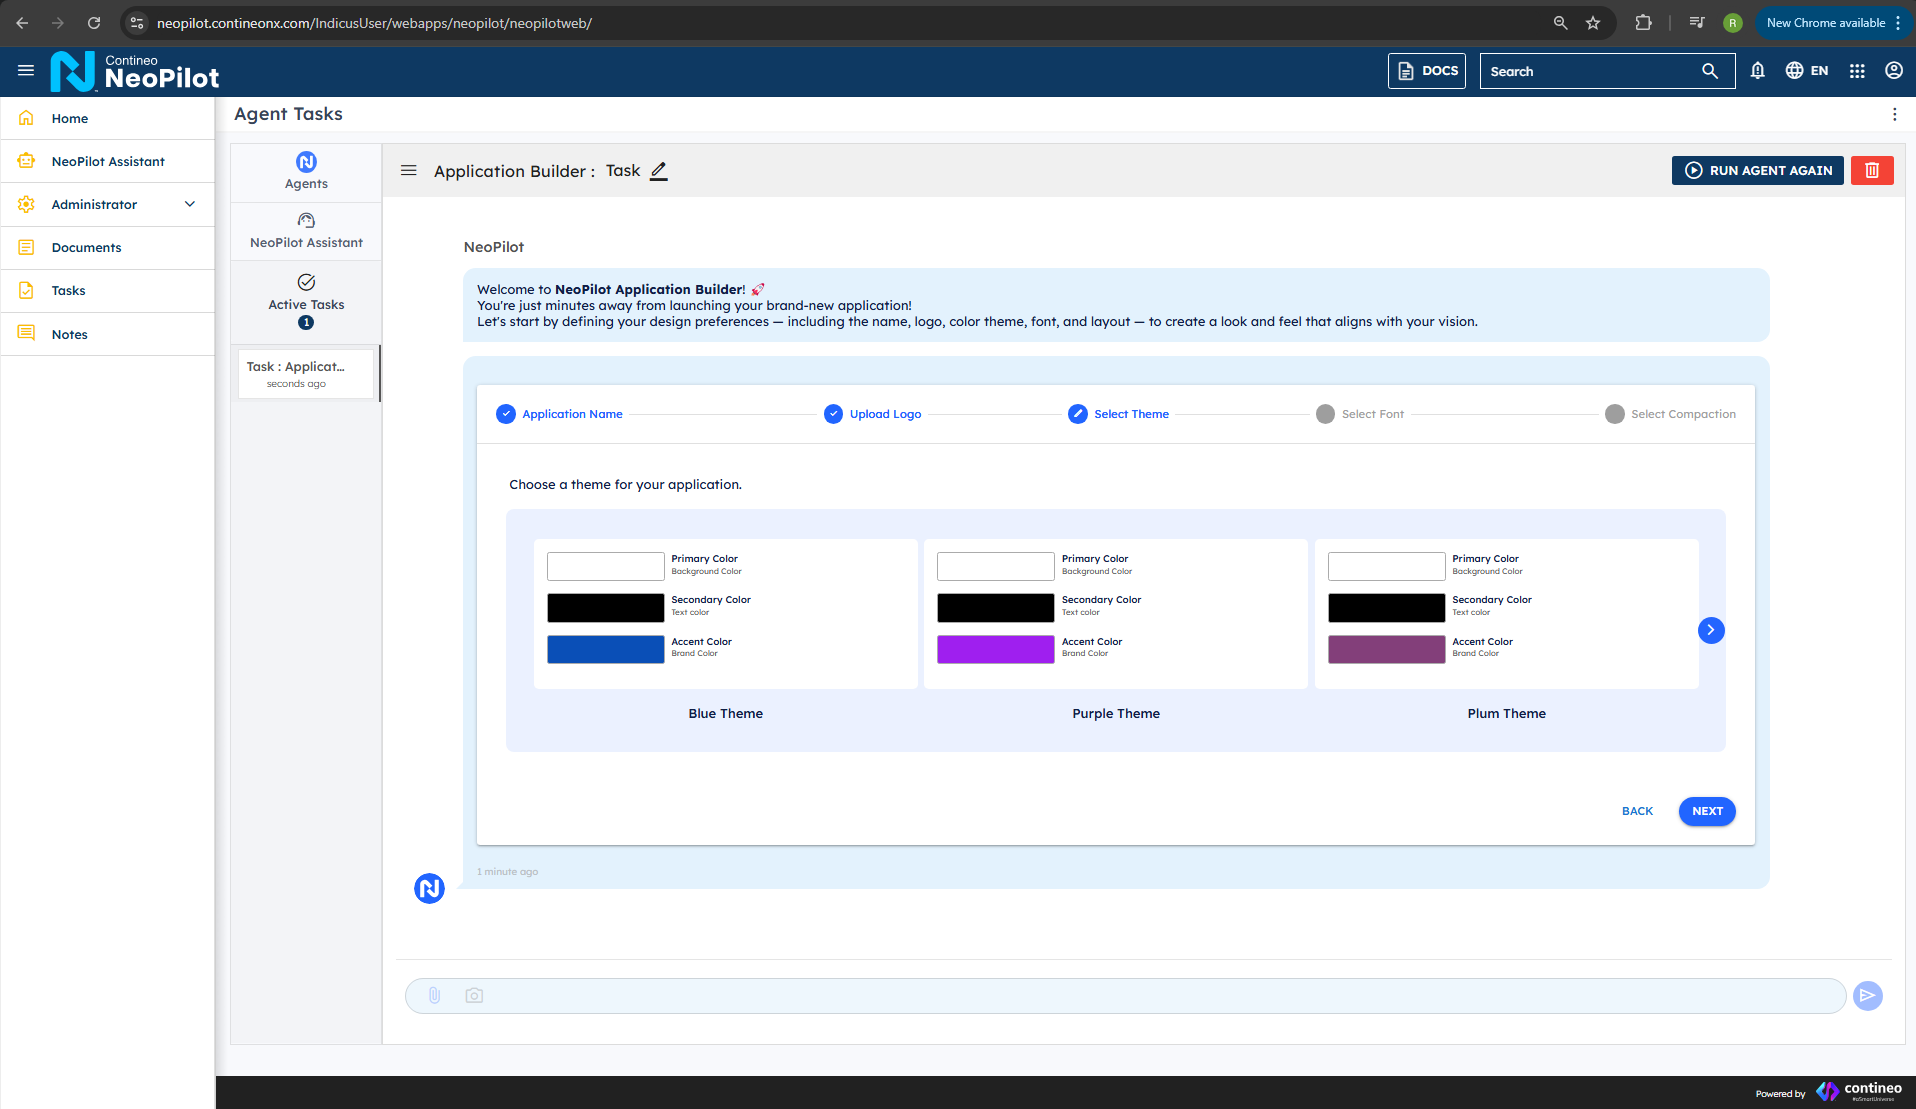 NeoPilot theme selection
Select your desired font style and click Next.
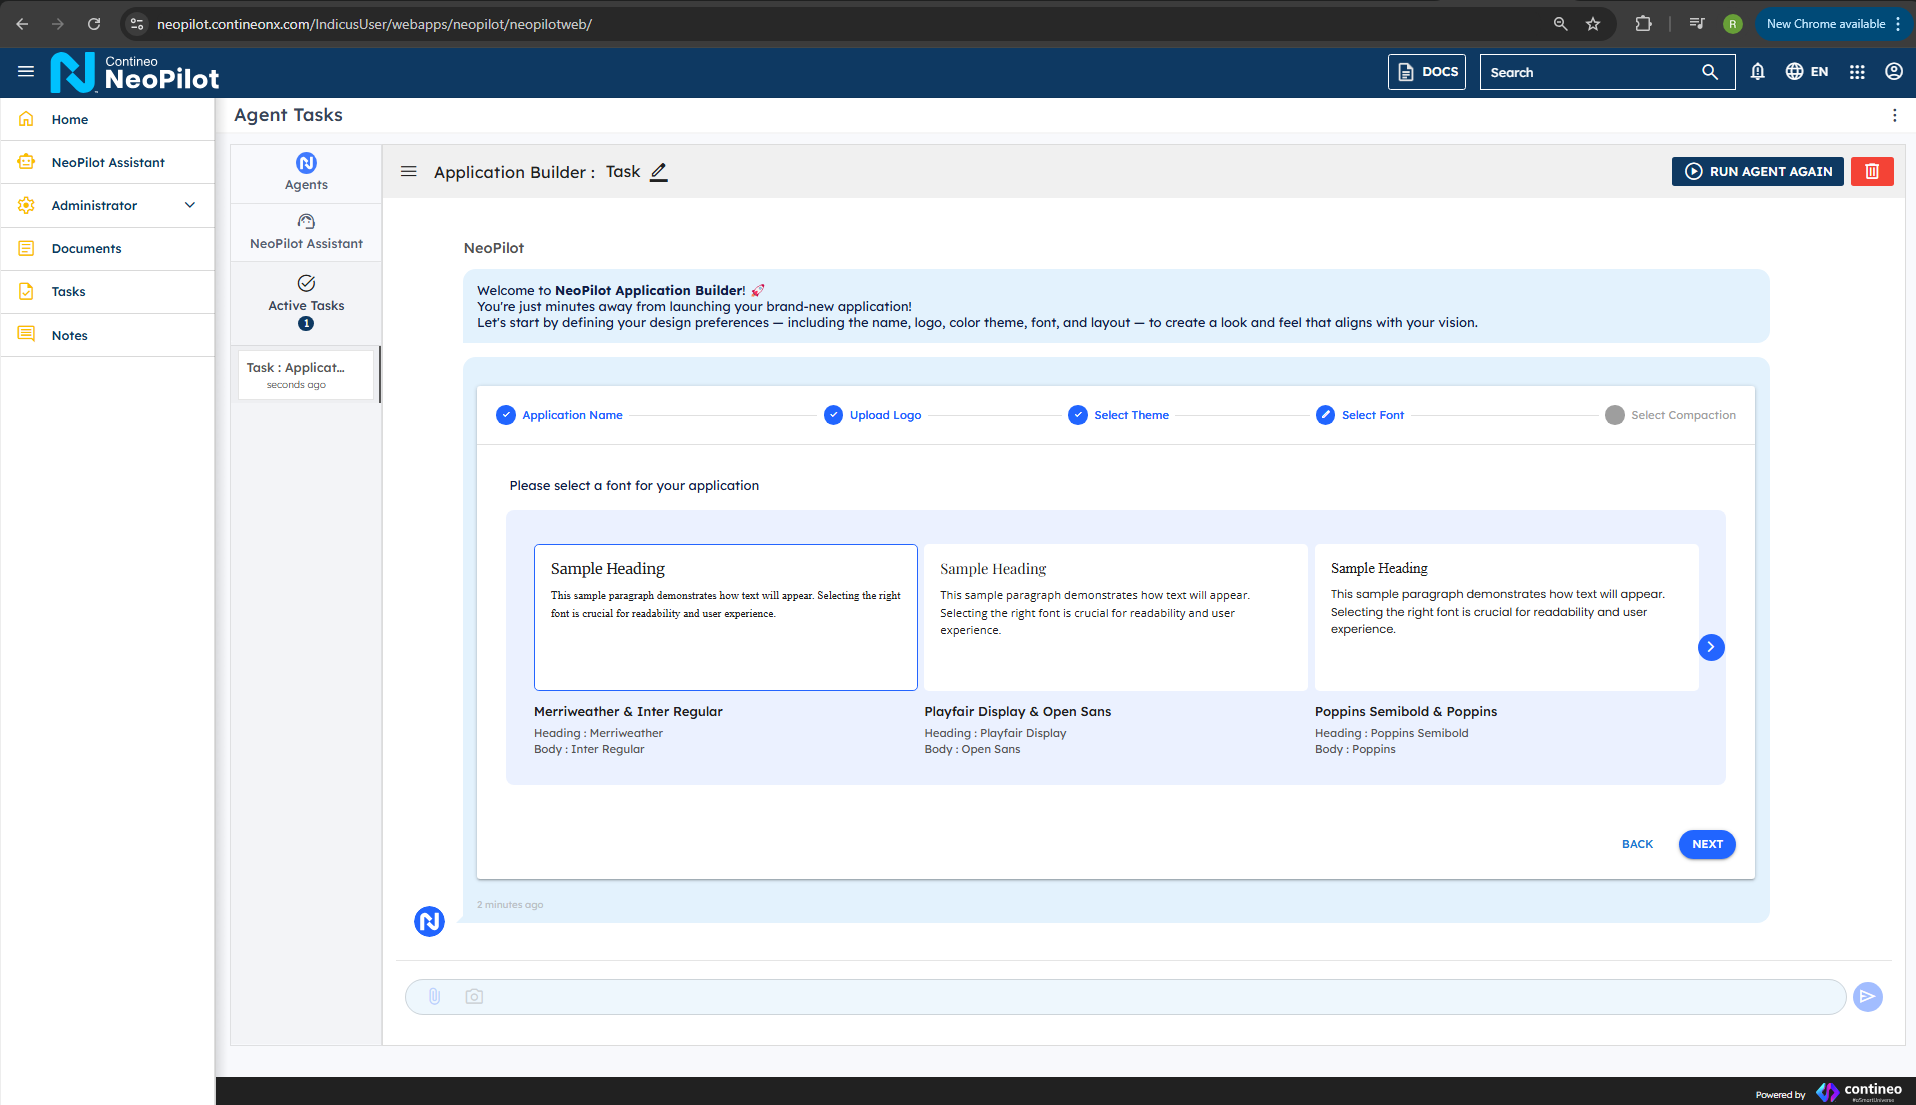 NeoPilot font selection
Choose your preferred compaction settings and click Finish to complete the initial setup.
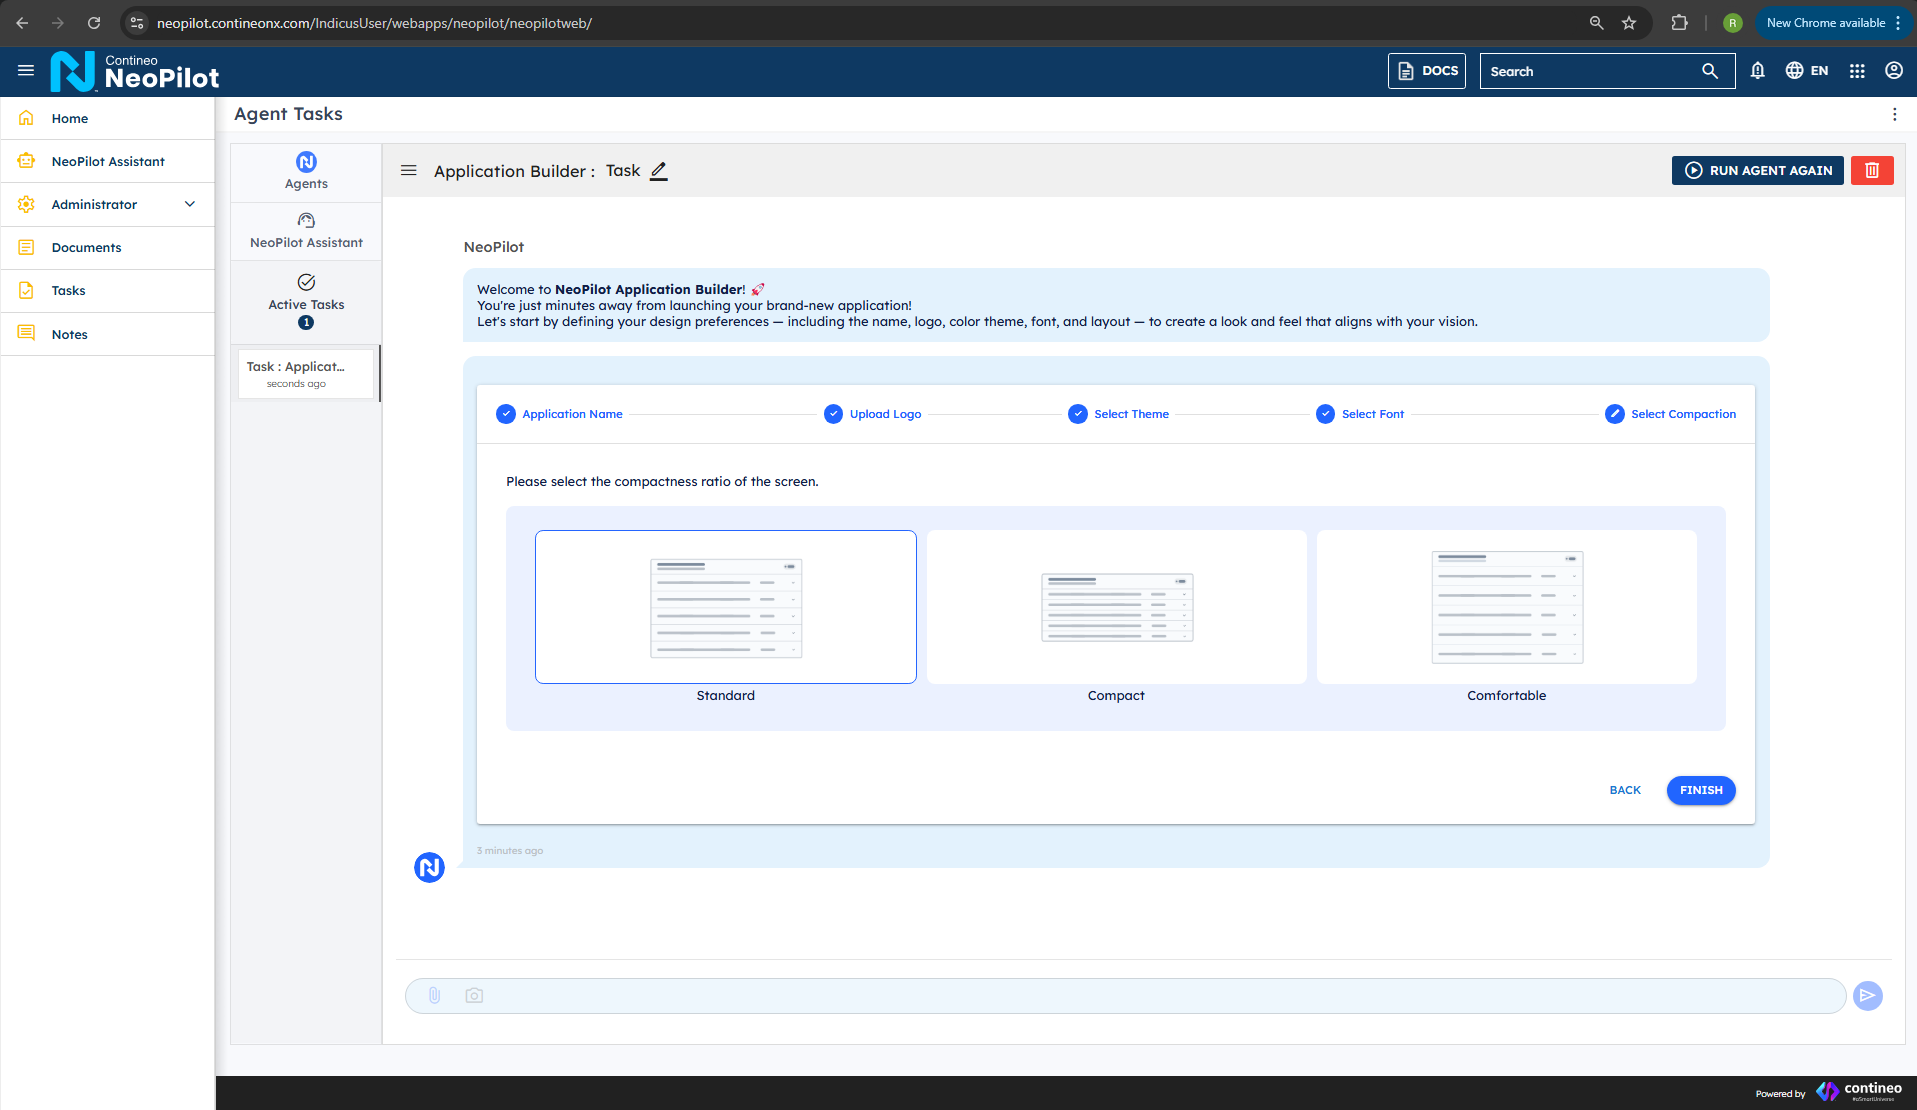 NeoPilot compaction settings
When you click Finish, you cannot undo the changes.
The system then sets up your application configuration.
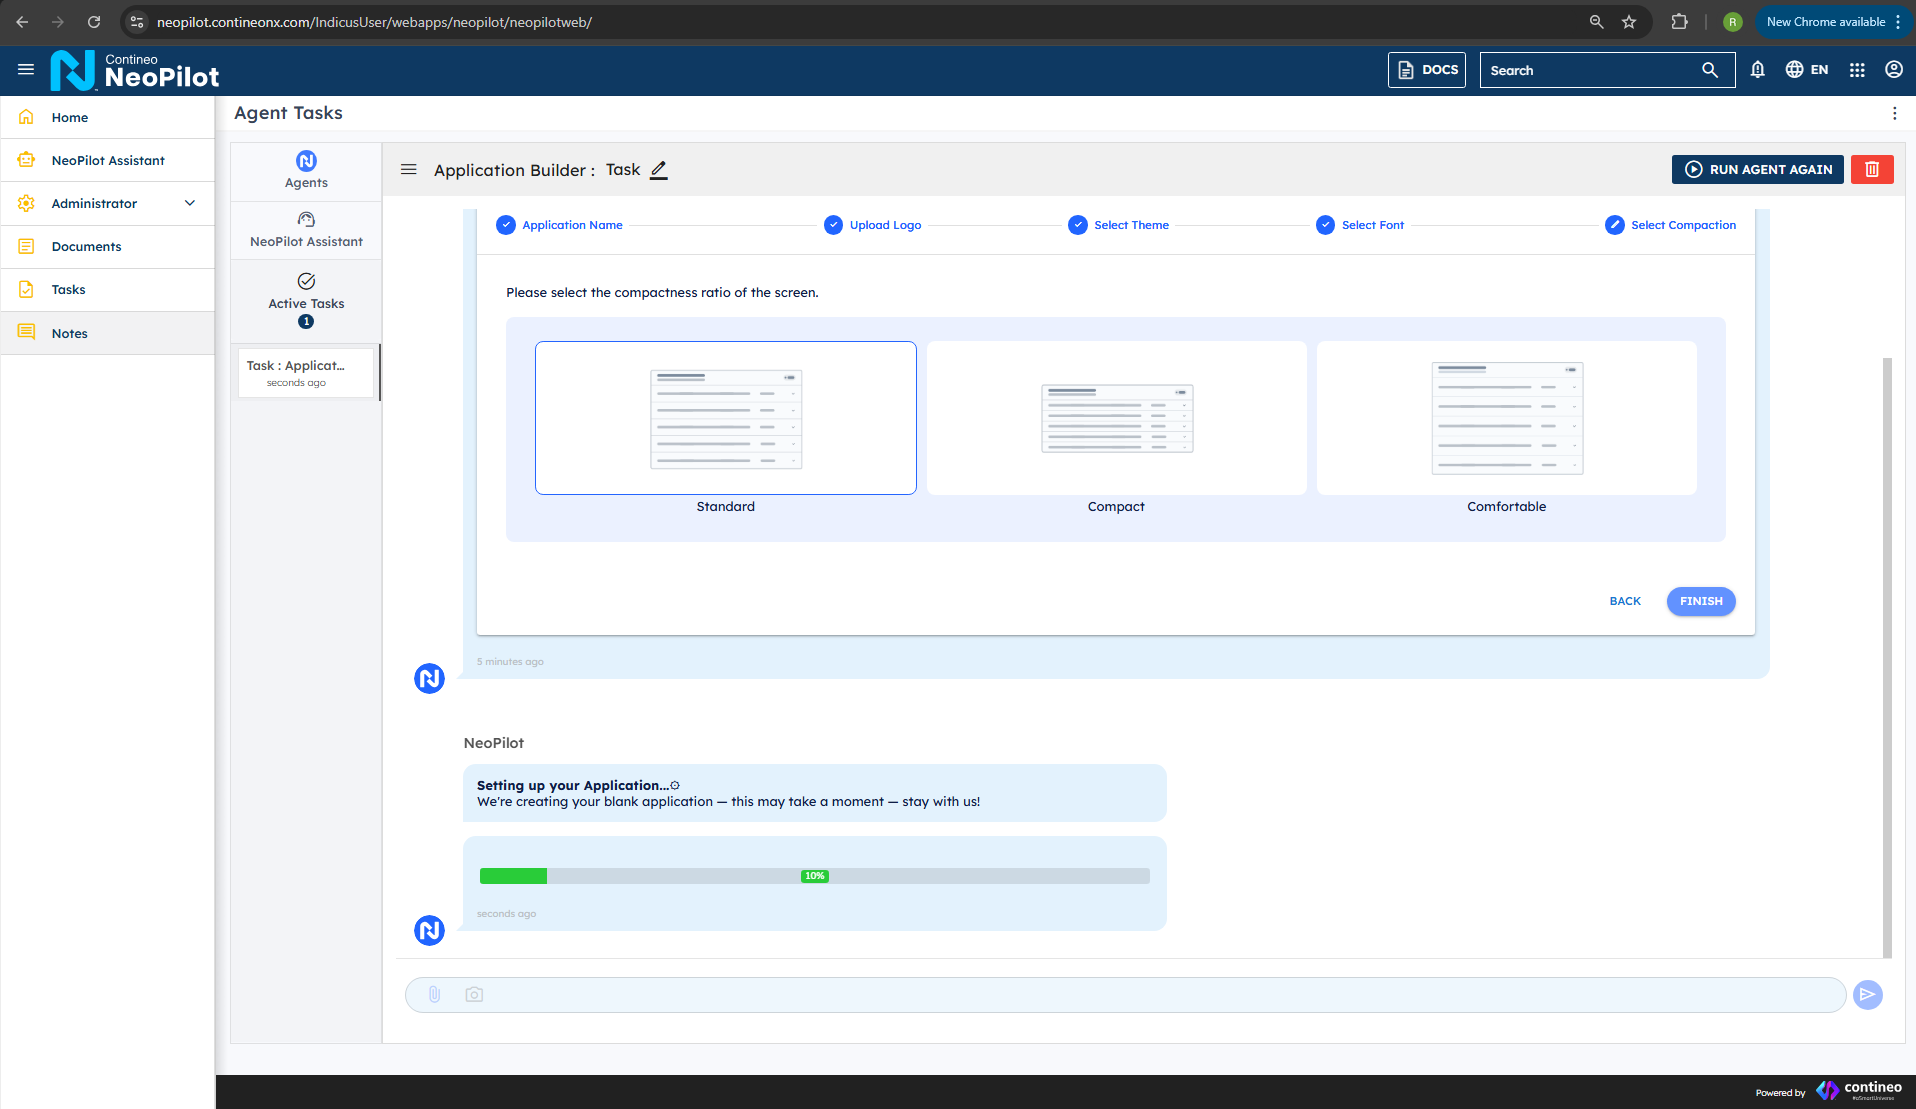 NeoPilot configuration setup progress
Once your new brand-new application with all selected settings is complete, you can see the Switch Application button, which allows you to toggle between different projects.
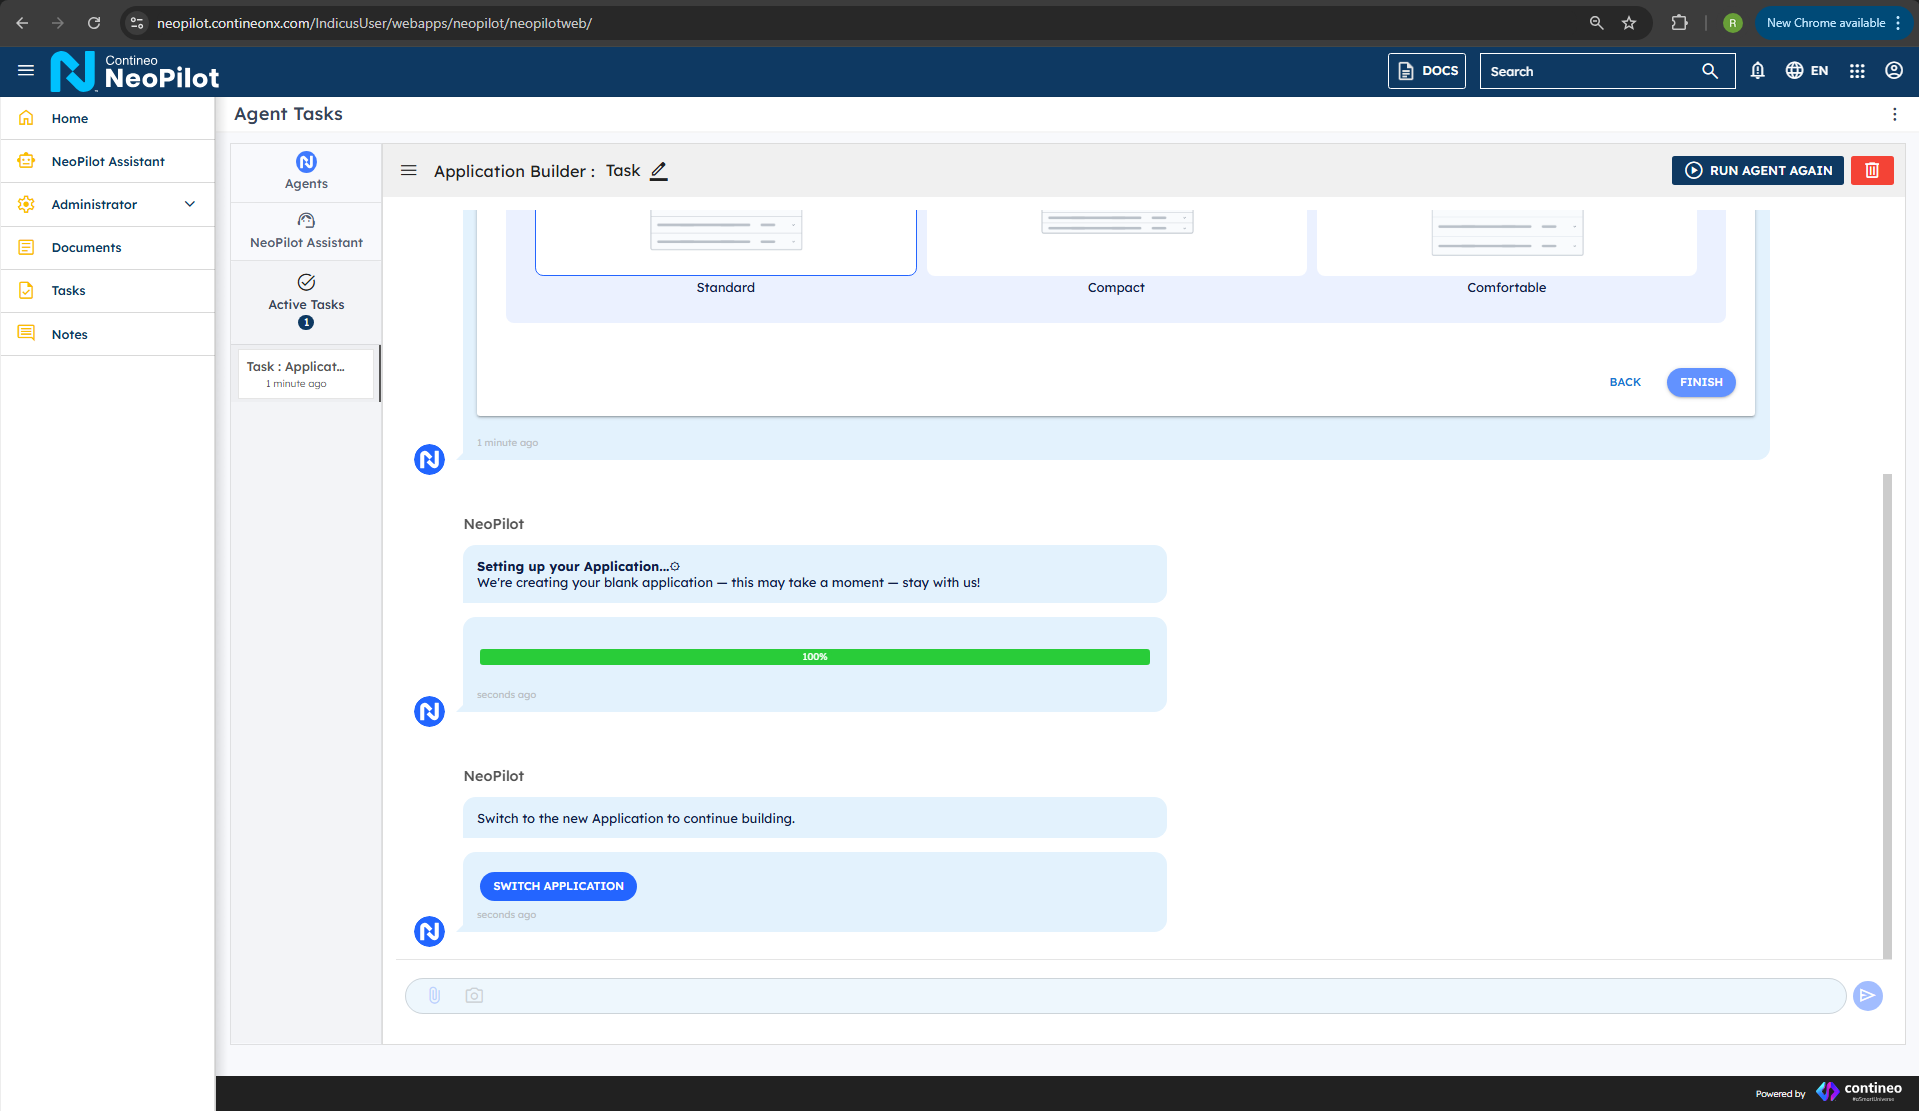 NeoPilot Switch Application button