Microservices Creation Overview
Microservices Creation: (ECS – Container Cluster or EC2 – Server Cluster) under the Environment or Group.
You can create different microservices of type Container Cluster and Server Cluster under an Environment.
Step-by-Step Microservice Creation
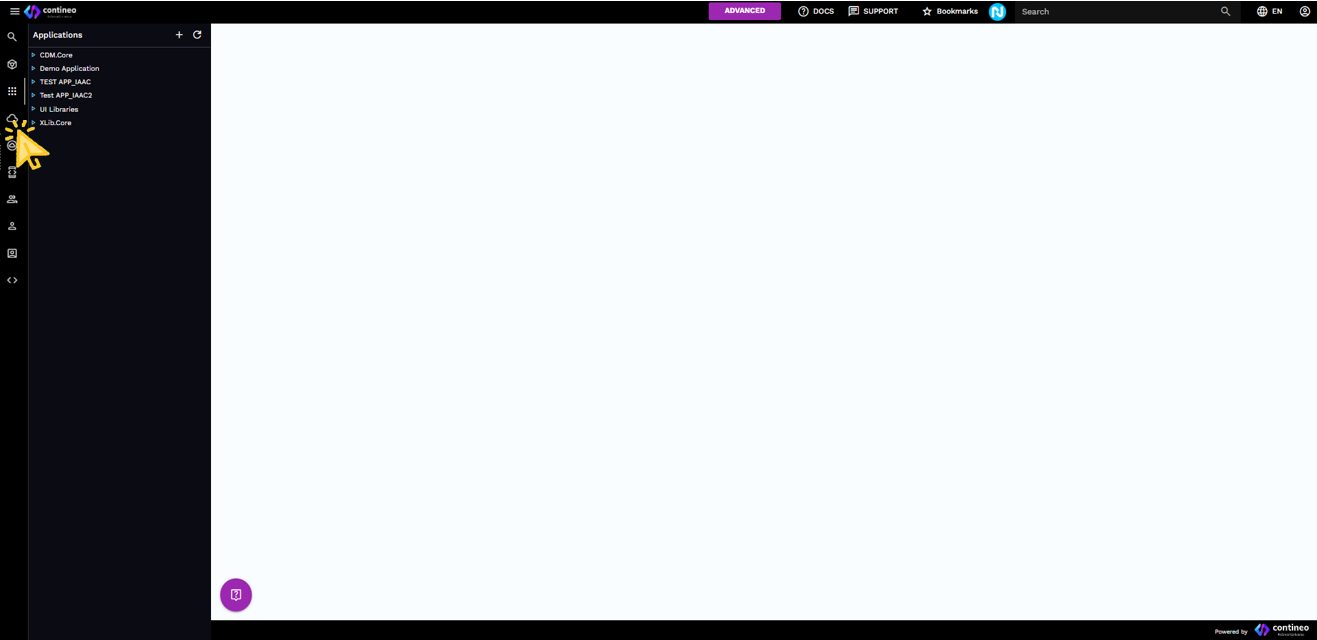
Expand the Environment/Group menu under which you want to create microservices.
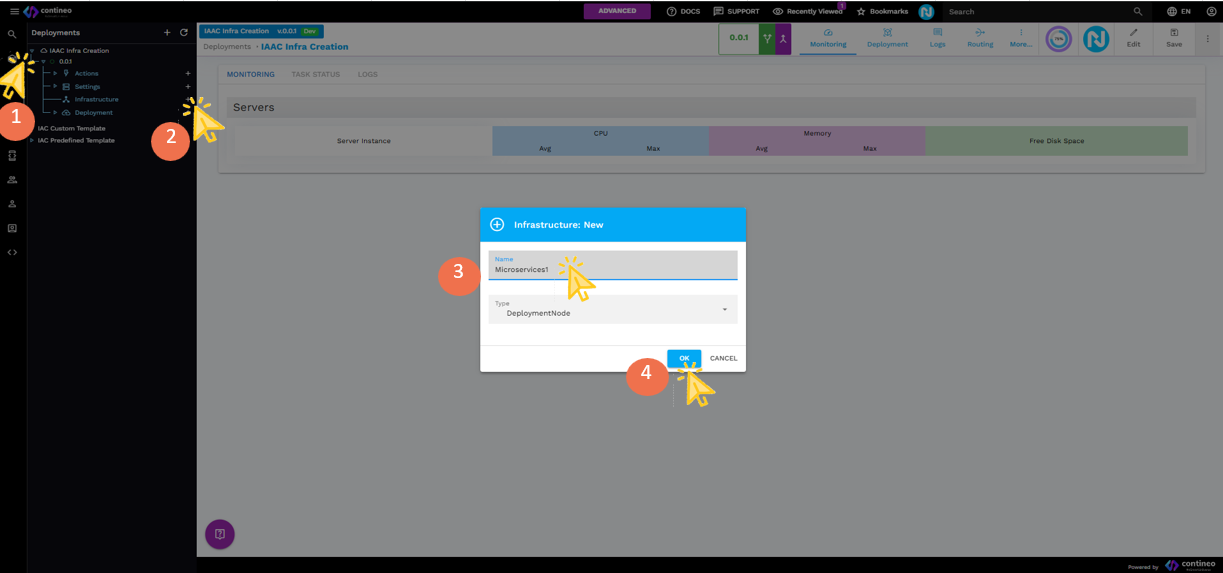
Placeholder: Environment tree view - Expand the environment in the navigation panel.Click + in the Infrastructure menu.
Enter a name for your microservice. Select type =
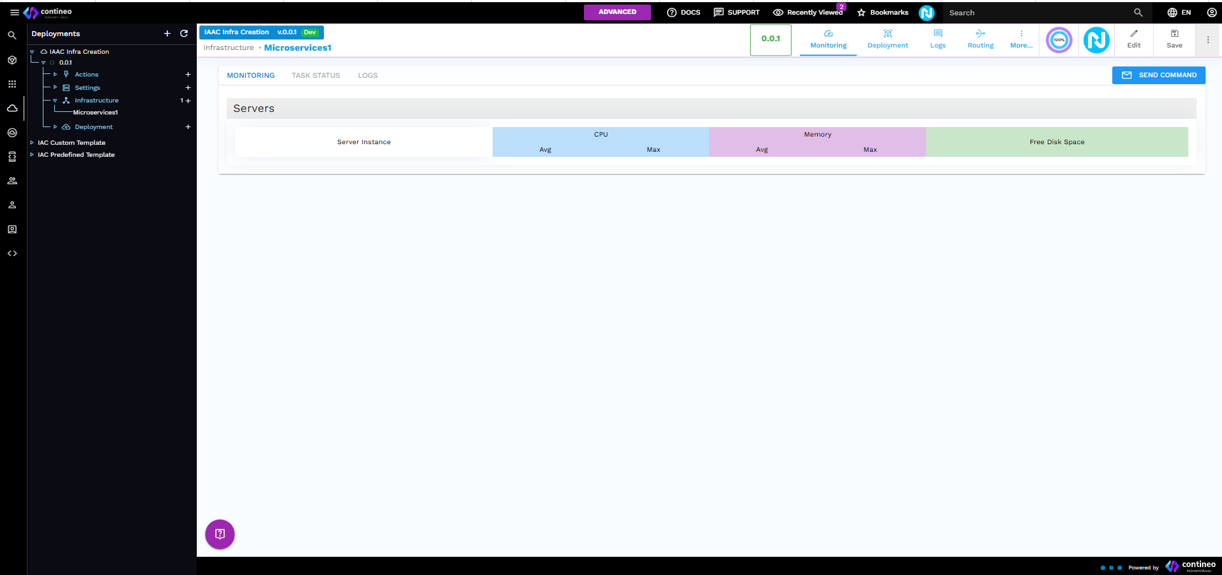
DeploymentNode.Click OK and then click Save. The detail screen of 'Deployment Node' (microservice) is displayed.
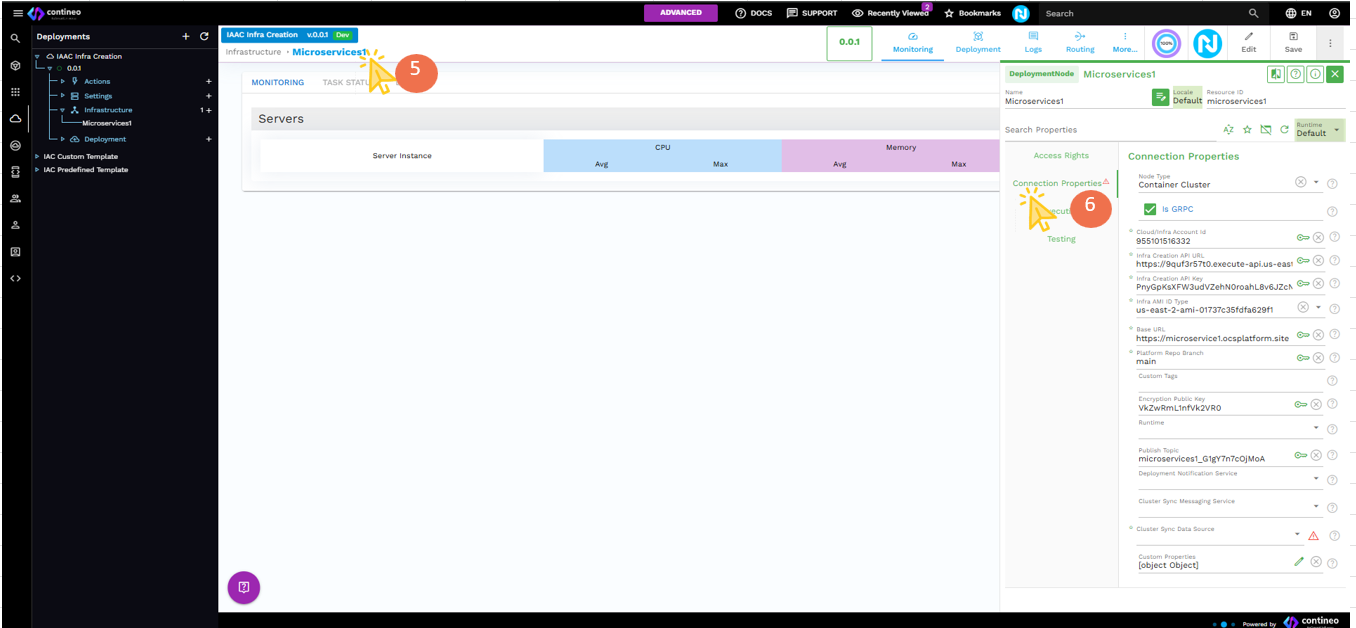
Click on the microservice name to open the Property panel, or click Edit.
Enter the following properties:
Property | Description |
|---|---|
Node Type | Select ECS (Container Cluster) or EC2 (Server Cluster) |
gRPC Checkbox | Select or clear as needed |
Cloud/Infra account ID | Inherits from the group |
Infrastructure creation | Inherits from the group |
Infrastructure creation API key | Inherits from the group |
Infra AMI ID Type | Select appropriate type |
Base URL |
|
Platform Repo Branch | Default: |
Click Save to commit these changes.
Click Neo-Pilot, then click CREATE ENVIRONMENT. A popup is displayed. (Server Cluster OR Container Cluster depending on Node Type).Placeholder: Environment creation popup properties are prefilled and disabled.
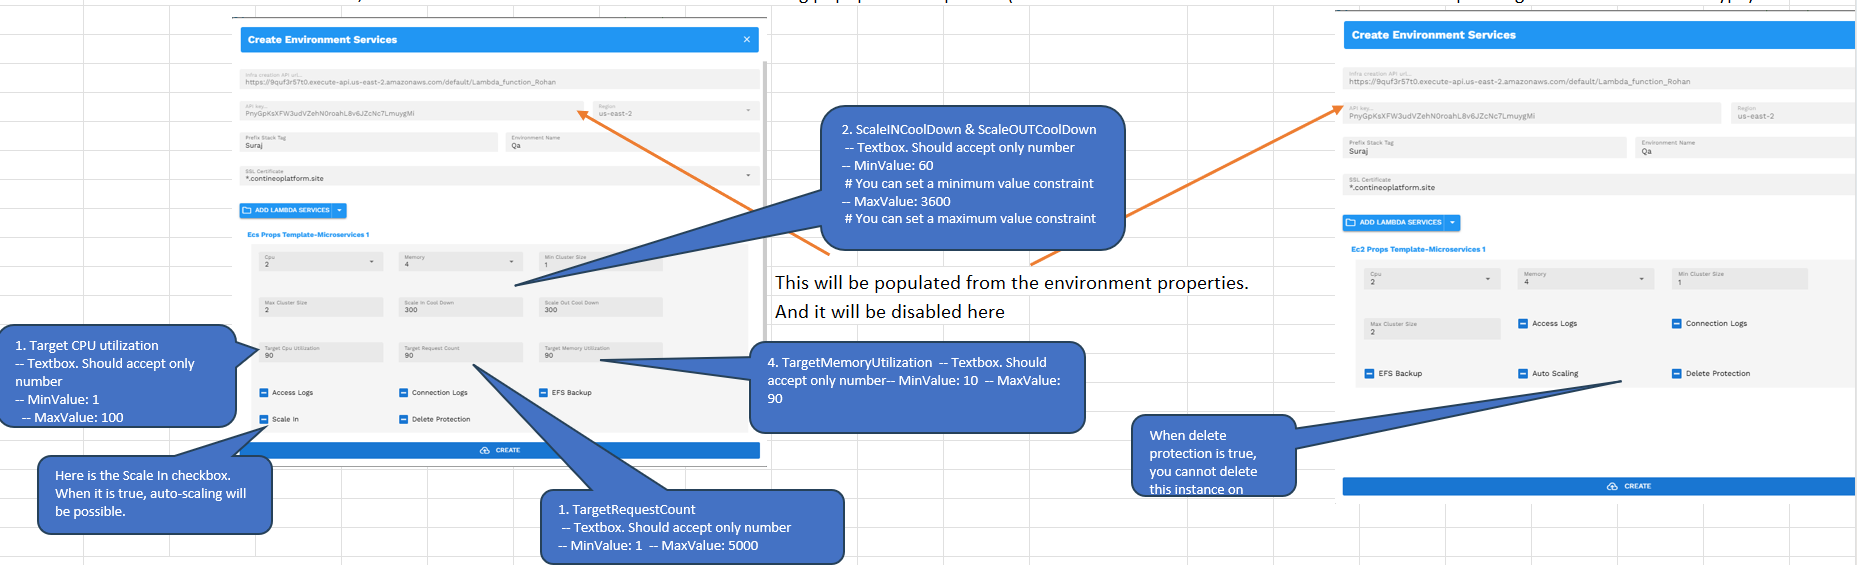
Fill in the data in this popup:
Select SSL Certificate
Note:
If an SSL certificate is not created, create it first as per the section "Create SSL Certificate for Microservices or independent ECS/EC2"
SSL region must match environment region
Certificates in creation appears but is disabled
Wildcard certs (for example,
*.domain.com) are supported
Select CPU and Memory for your service.
Select Maximum and Minimum cluster size.
Click CREATE.
After Creation
Microservice creation and logging follow the same flow as Environment/Group.
Multiple microservices (ECS or EC2) can be created under an Environment/Group by repeating steps 1 to 8.
After completion, connection details (such as ecsProps or ec2Props) appear under Custom Properties of the deployment.

MQTT/RDS/Redis details are inherited from the Environment.
Specifying Microservice Deployment Types
You can assign microservices under an Environment with the following roles:
MAIN
App is deployed on that microservice.
All API requests from REMOTE services redirect here.
Only one microservice can be MAIN.
REMOTE
App is not deployed on this microservice.
API requests are redirected to the MAIN.
Multiple REMOTEs are allowed.
If all are REMOTE, they act as LOCAL.
LOCAL
App is deployed locally on this microservice.
API calls are executed here directly.
Multiple LOCALS are allowed.
NONE
App is not deployed on this microservice.
Configuring Application Deployment
Select the Environment where the app is deployed. Refer to the 'Application Box' in the Environment view.
Placeholder: Application box in Environment
Click on Deploy To in the Application box to view all available microservices.
By default, all are set as LOCAL.
Change the deployment type by clicking the respective buttons: MAIN / REMOTE / LOCAL / NONE.
Available buttons:
Deploy To All: Set all as LOCAL
Close: Close the popup
After configuration:
MAIN is shown in Blue
REMOTE is shown in Green
If all are LOCAL, it shows All in Green
Running Applications from Designer
In the Web module, when clicking RUN, a list of URLs is shown:
Includes all microservices where the app is deployed.
Clicking any URL opens the Web Module homepage.
If a MAIN is defined, all REMOTEs redirect to MAIN.
If all are REMOTE (that is, LOCAL), the selected microservice URL is used.