Creating Widget
Learn how to create a widget (screen).
Creating a Manual Screen (Widget)
You can create a manual screen (widget) and add different UI components such as Section, Field, Chart, or Map to it.
Steps:
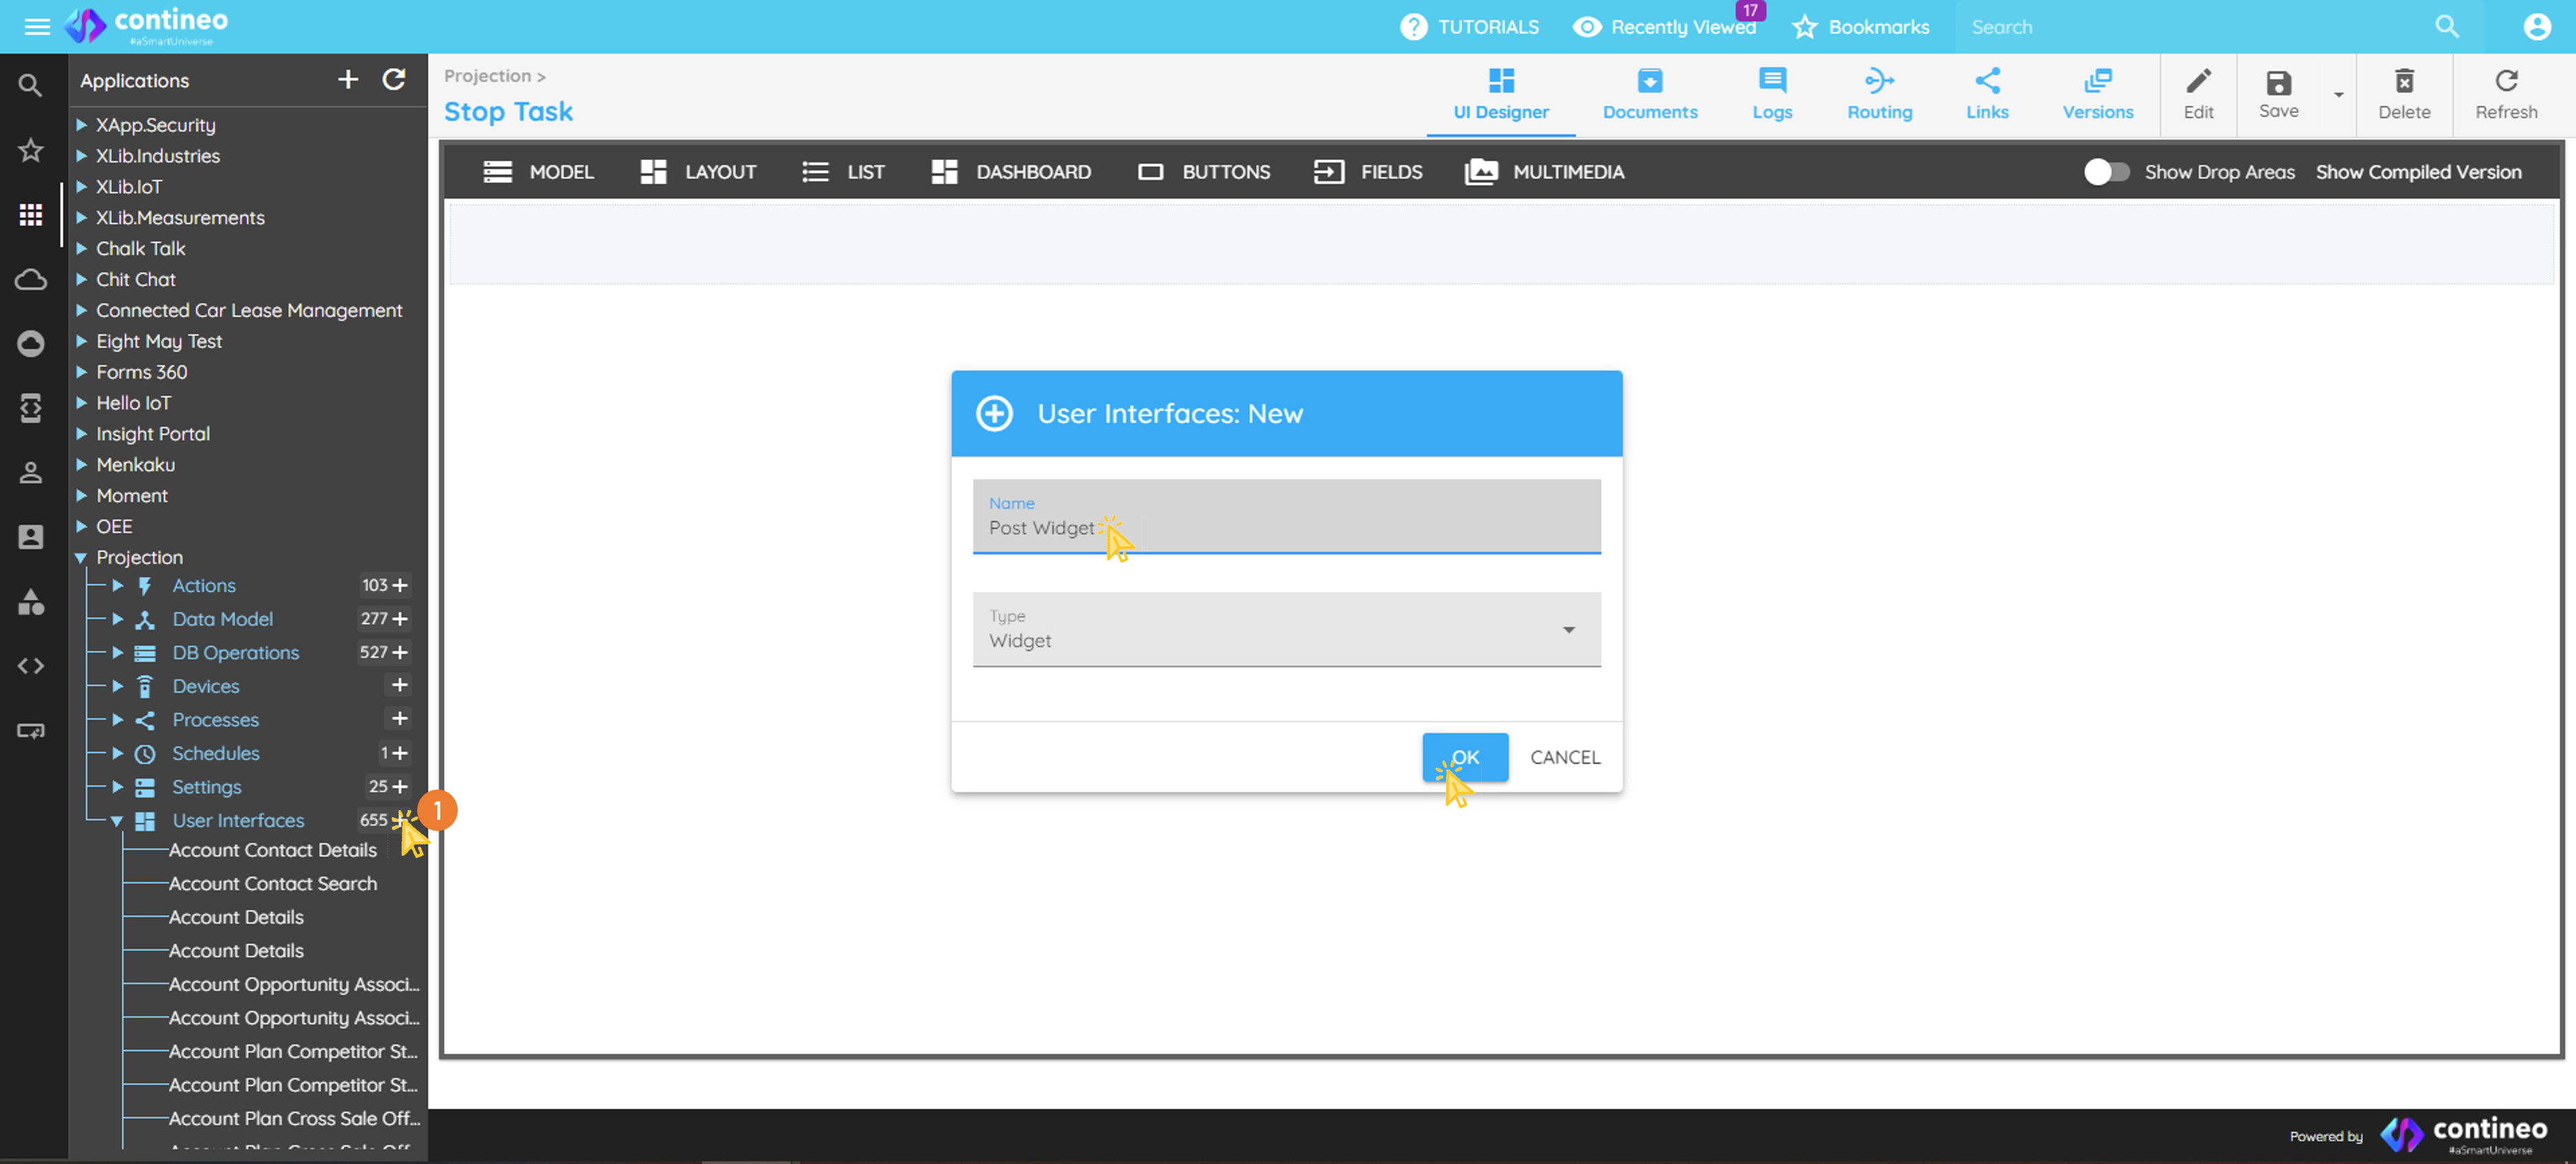
Create a new widget:
Navigate to User Interfaces under your application in the component explorer.
Click the "+" icon.
Specify a unique name for the new widget and click OK.
Assign a unique JSON structure name as the data bean path of the main widget by navigating to:
Data Mapping > Data Bean Path(for example,post).It is a good practice to initialize the data bean path with an empty JSON map:
data.post = utils.createMap();
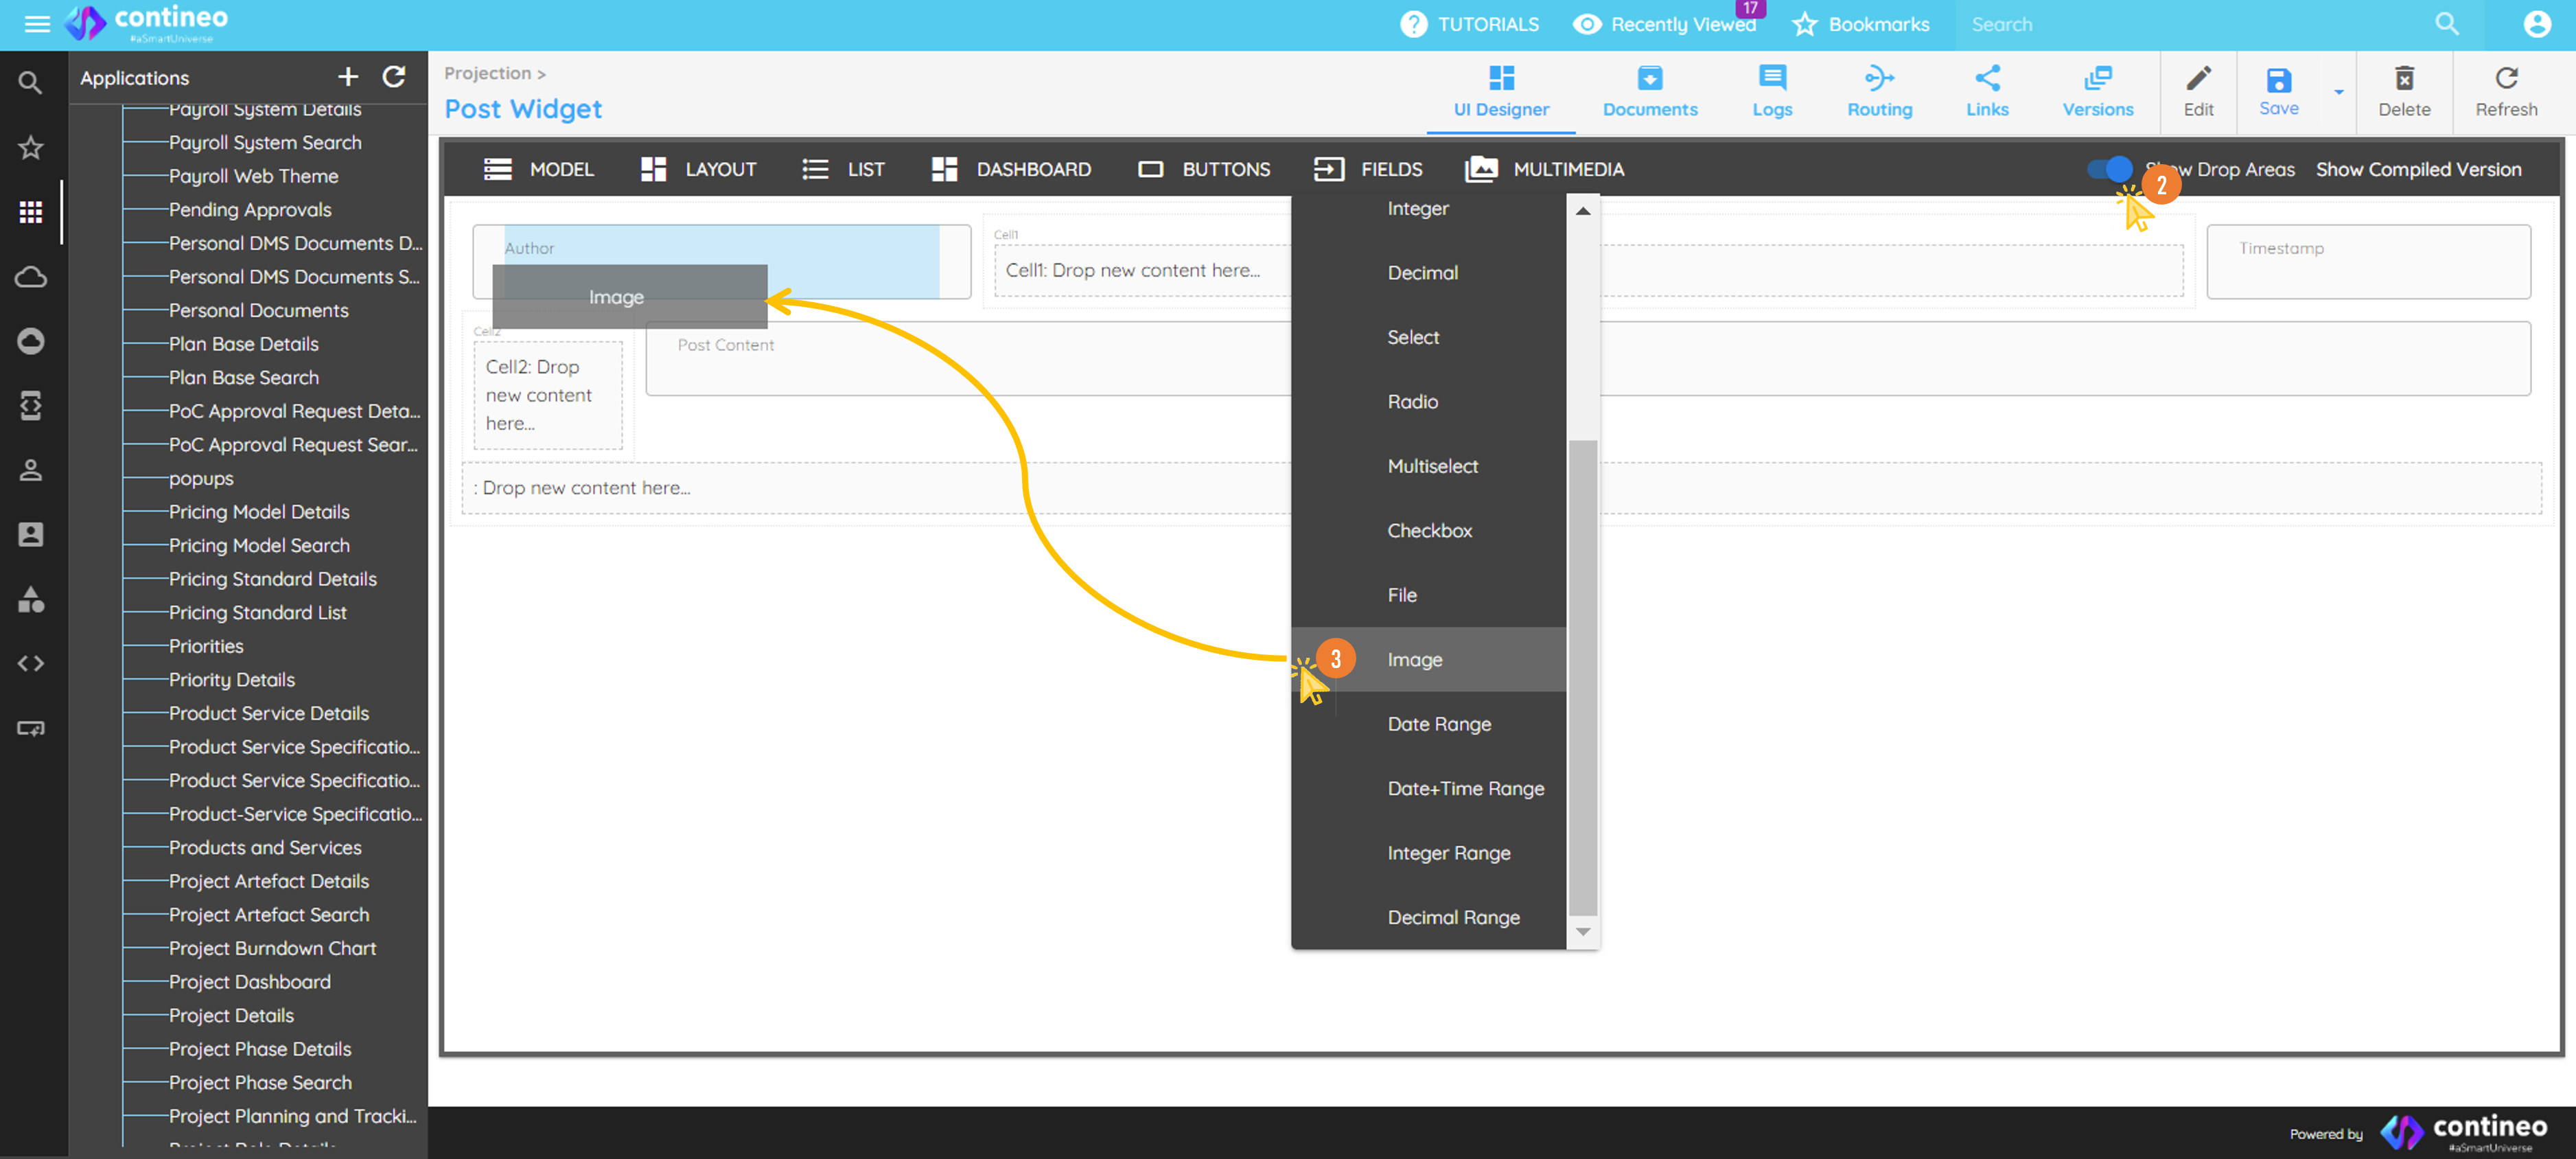
Click the Show Drop Areas slider in the top menu to make drop areas visible.
Drag and drop standard UI components from the top menu bar as needed:
Name the components appropriately.
Ensure each resource ID is unique within the screen.
Assign a variable name.
Design the layout:
To change a component’s width, right-click it and choose the number of columns it should occupy.
To remove a component, use the delete icon in the right-click popup.
Map data to the widget:
Each component should reference a key from the JSON map associated with the parent widget. Example:
data.postClick SAVE to finalize the screen.