Lock Unlock
This document outlines the user account locking mechanism implemented within the system, including the auto-unlock feature. The system is configured to lock a user account after a defined number of failed login attempts, and automatically unlock it after a specified duration.
Step 1: Configure User Account Locking
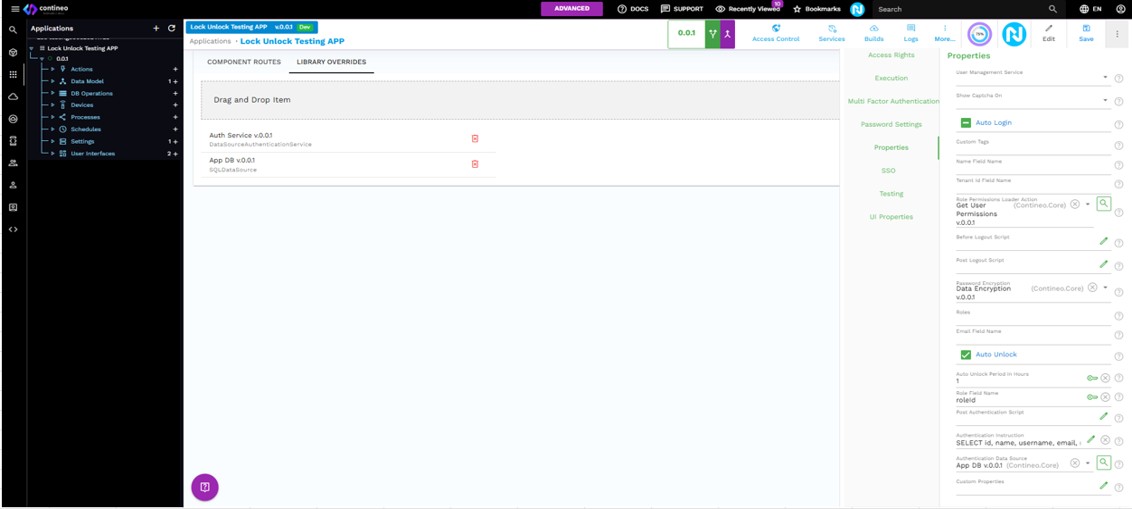
Navigate to Application > Routing > Library Overrides and override the App DB & Auth Service.
Click the Auth Service to open its properties panel.
In the Properties panel, ensure the Auto Unlock checkbox is selected.
Set the following configuration values:
Auto Unlock Period (Hours): 1
Password Reuse Restriction: 3
If using a custom Auth Service, verify your SSO settings and ensure they align with the lock/unlock behavior.
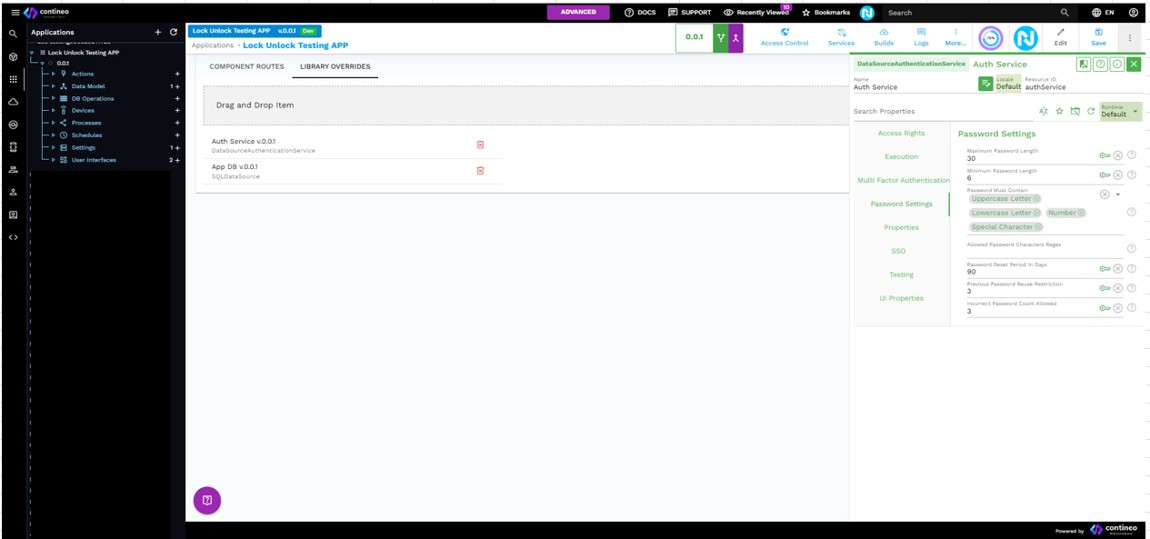
Step 2: Set Maximum Incorrect Password Attempts
In the Auth Service settings panel, set the Incorrect Password Attempt Count to 3 attempts (default).
Step 3: Verify Account Lock Behavior
Log in to the application with a tenant account.
Create a new user under this tenant.
Log in with the new user account to ensure it's active.
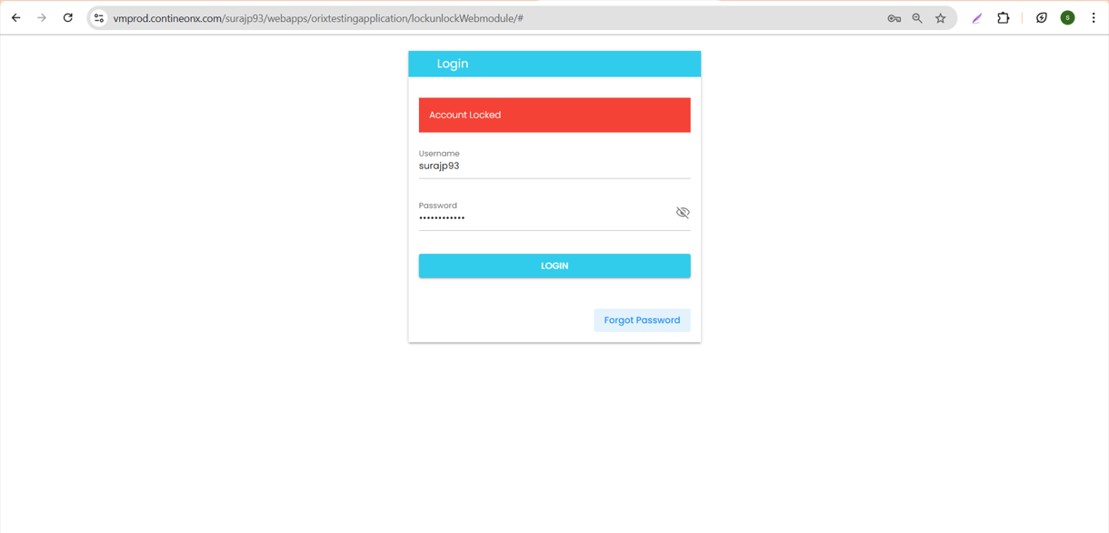
Log out, then attempt to log in using an incorrect password three times.
After the third failed attempt, the account is locked. A "Locked" message is displayed.
Step 4: Verify Auto Unlock Functionality
Wait for 1 hour (based on the configured auto unlock duration).
Log in again with the correct password.
The user should be able to log in successfully, confirming the account was automatically unlocked. This confirms that the Auto Unlock feature works as configured in the Auth Service settings.
Manual Unlock Procedure
Log in as an administrator or tenant user.
To unlock a user account before the auto unlock duration has elapsed, open the affected user’s record.
Clear the Locked checkbox and save the record. The user is unlocked manually.